Leather appears on almost every miniature you’ll ever paint. Belts, boots, armour straps, holsters, bags – it’s everywhere. Which means painting realistic leather convincingly is one of those skills that pays off again and again.
But before we get into brushes and paints, let’s talk theory. Understanding your leather types and their real-life behaviour will simplify your painting choices. This way, your results will look more authentic.
I could write an entire in-depth article about types of leather, how they age, and how they look when old and worn out. But you don’t need to be a leatherwork expert to paint it in a believable way. For miniature painting, it’s enough if you remember the most common types of leather.
Types of leather in miniature painting.
There are many types of leather in use at this moment. Full grain, top grain, genuine leather, split leather, suede, nubuck, Vachetta leather… Plus all the more exotic ones.
They all differ in how they are made, how durable they are and how much they cost.
But this article is about painting miniatures, not leatherworking. I don’t want to bore you to death with this theoretical part. You can always do your own deep dive into the subject later.
For this article, I can divide them into 3 main categories. I’m focusing on how the leather looks, how it ages, and how to paint it. I know I’m oversimplifying things here, but I’m talking about appearances and painting.
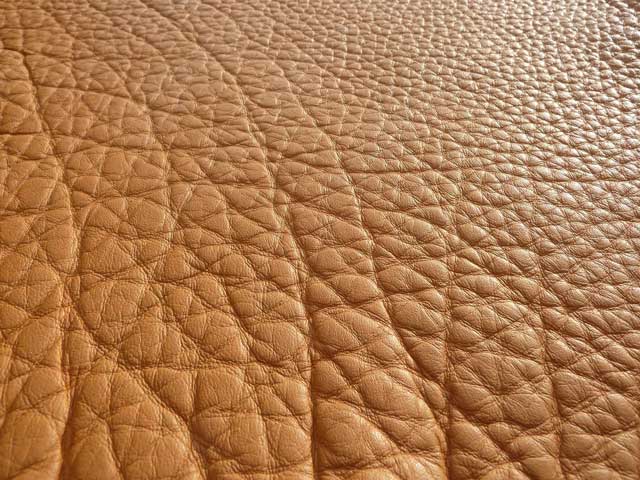
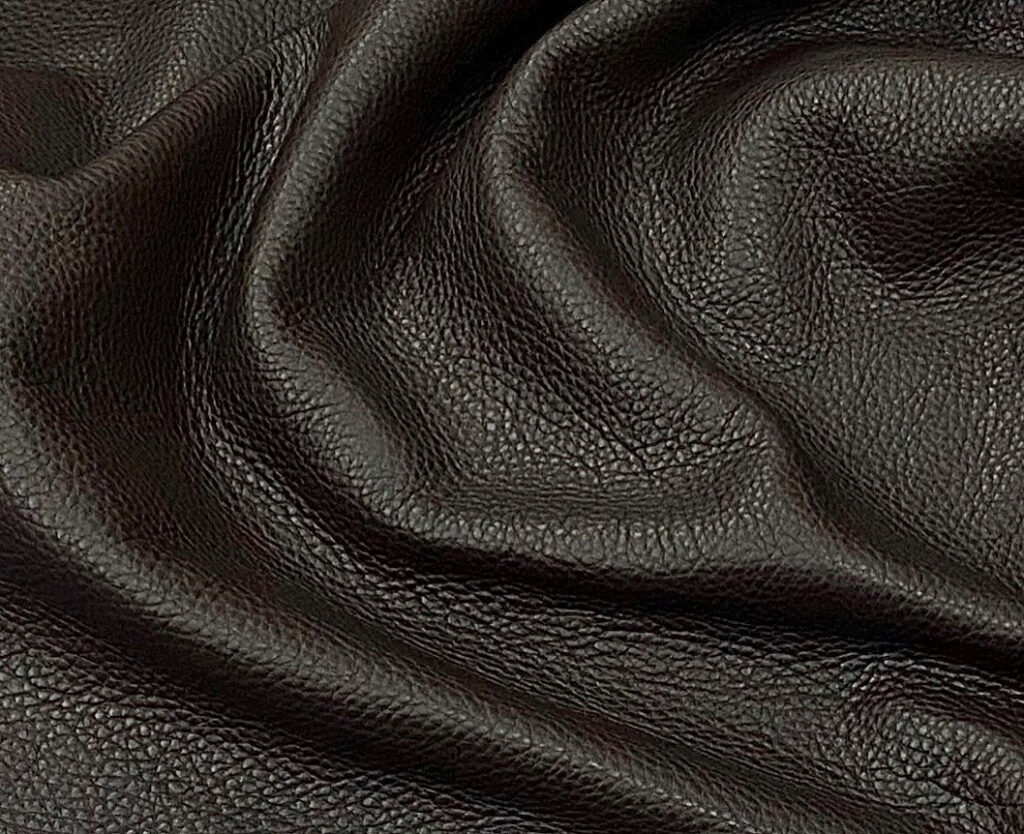
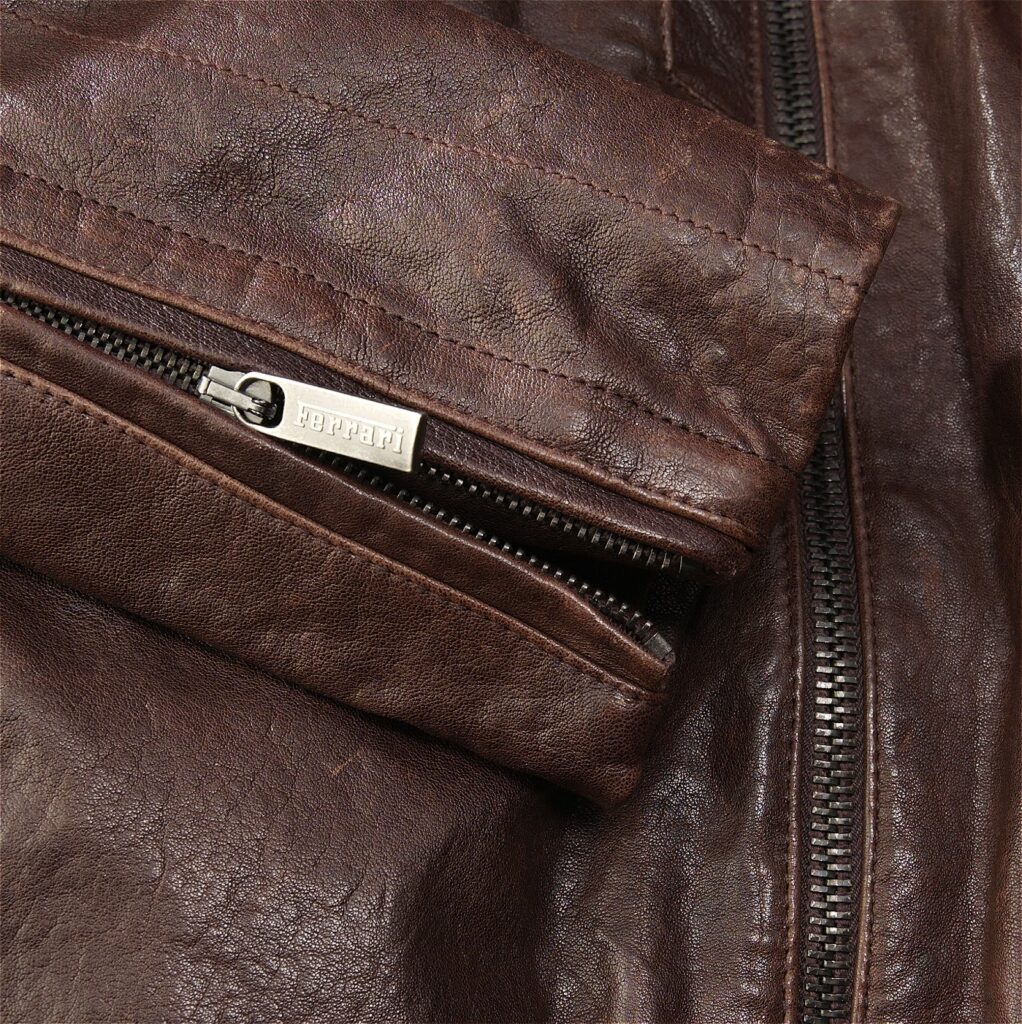
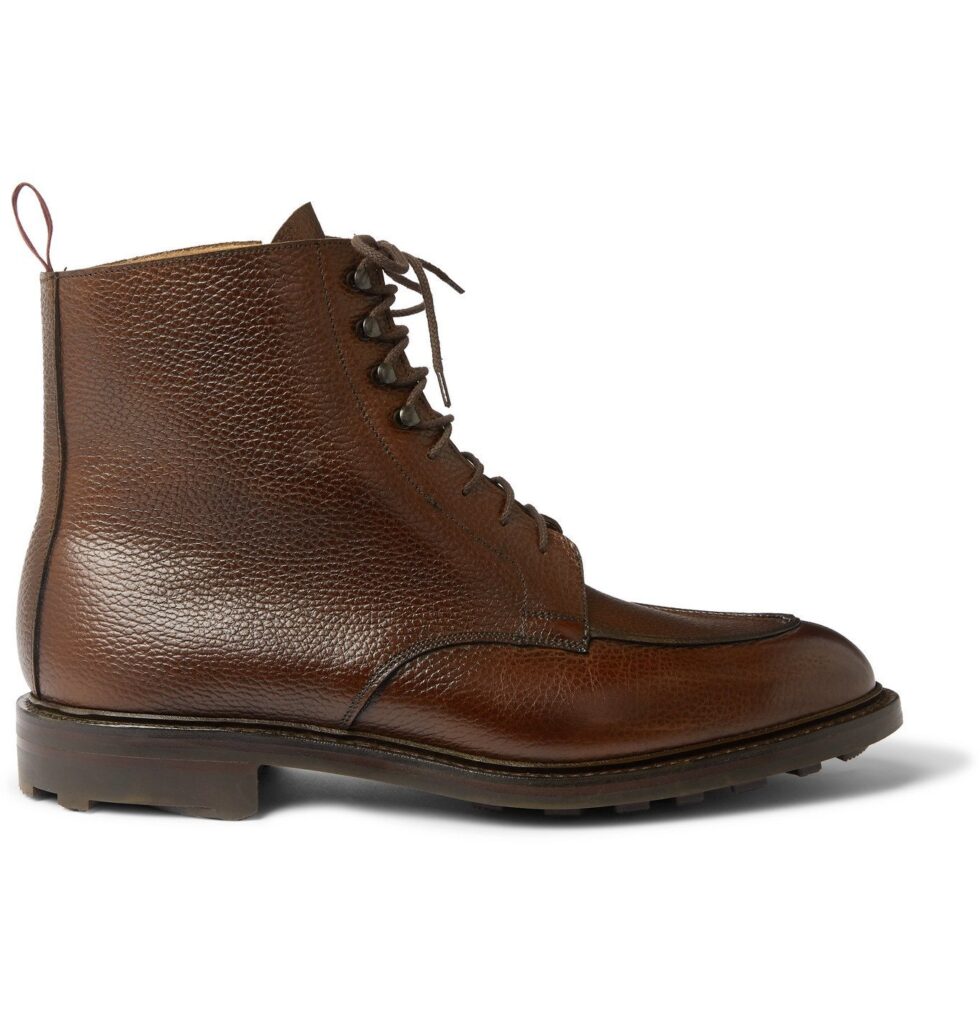
Grain leather
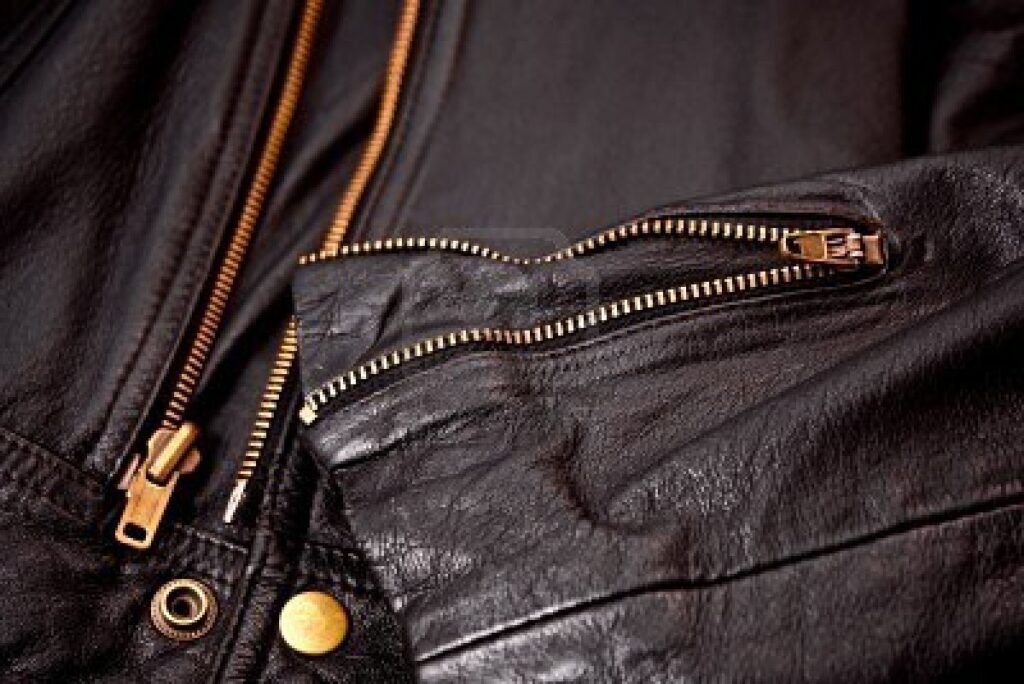
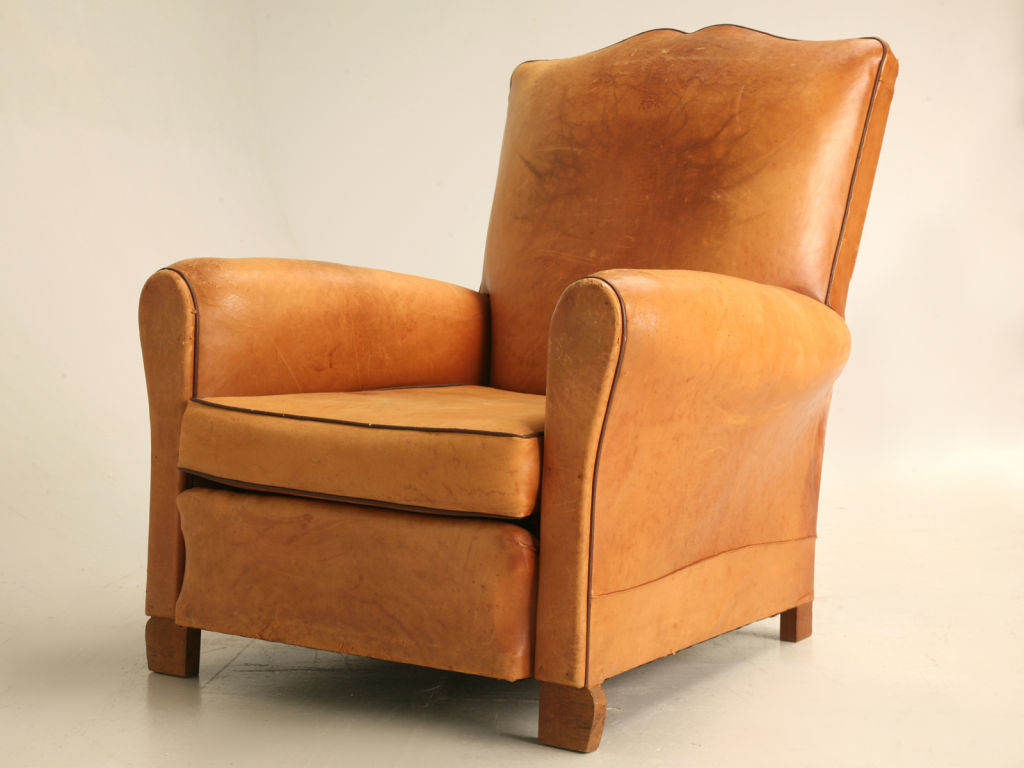
Here, we can throw full grain, top grain, and everything else that looks like it has a solid layer on top and visible texture. Think high-end biker jackets, shoes, belts and wallets.
The top layer of this kind of leather protects it from elements. It makes it more durable, and with reasonable care, it prevents a lot of wear and tear from happening. Over time, the natural oils, waxes, water, and other elements darken the leather. The texture becomes softer, with creases forming in places where it bends the most.
Depending on the colour, signs of ageing might be less visible. When the top layer is scratched, or breaks from use, the layer below is usually lighter and matt.


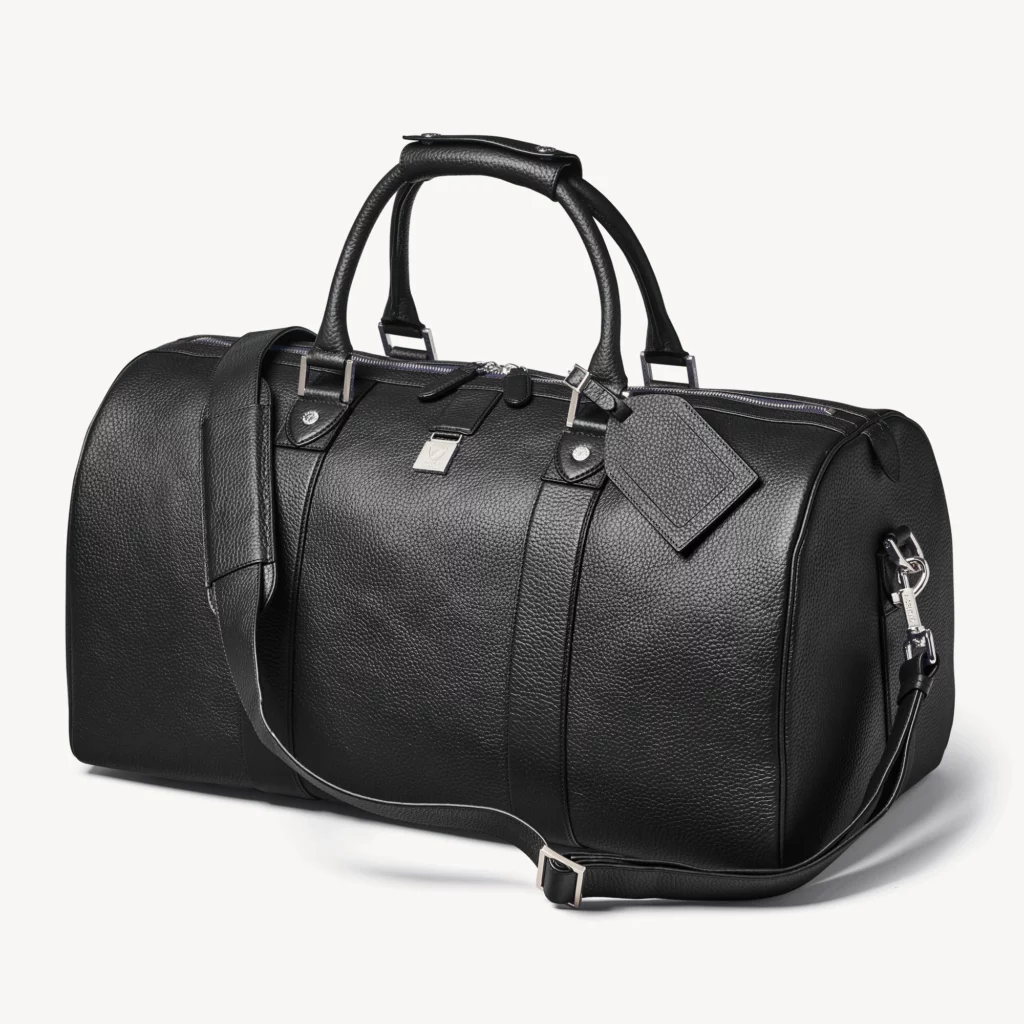

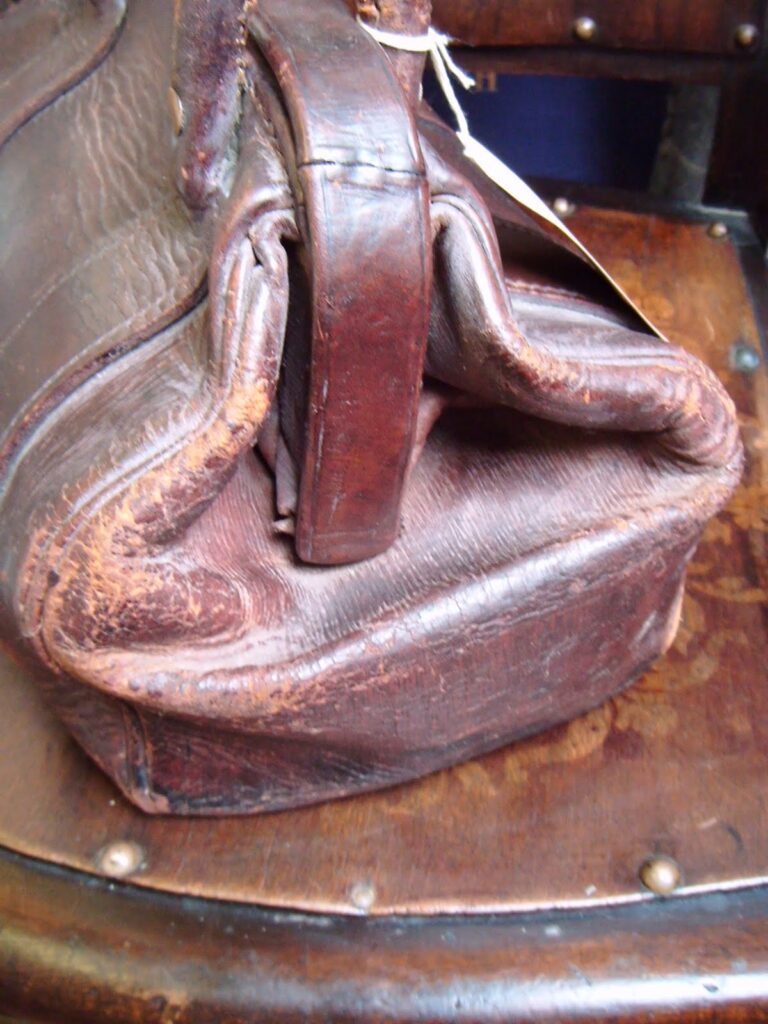
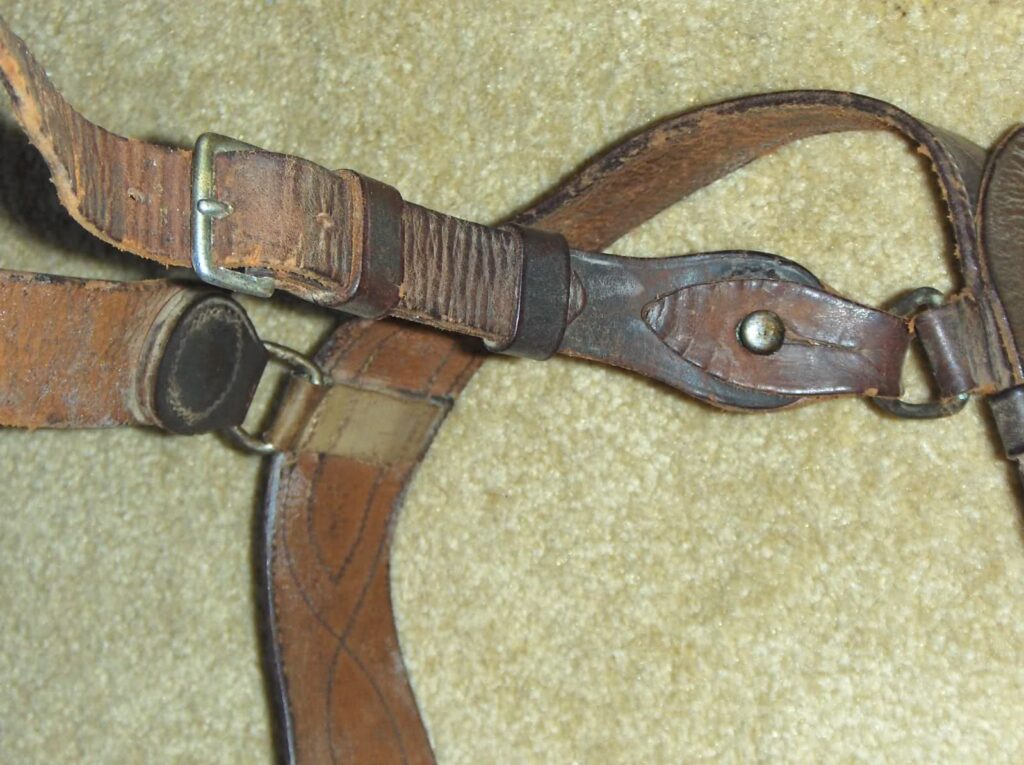
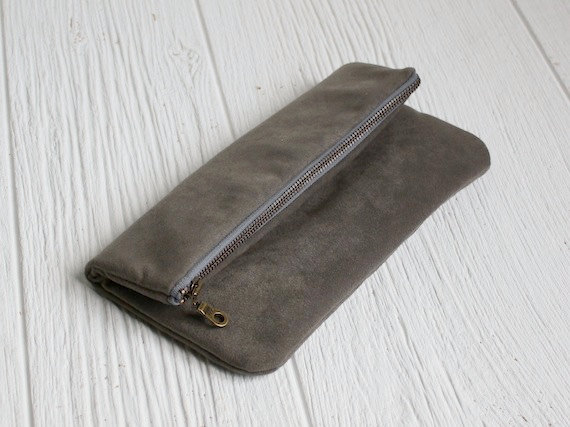
Vachetta leather
Vachhe leather, russet leather and everything that looks like it might have a layer on top but no visible texture.
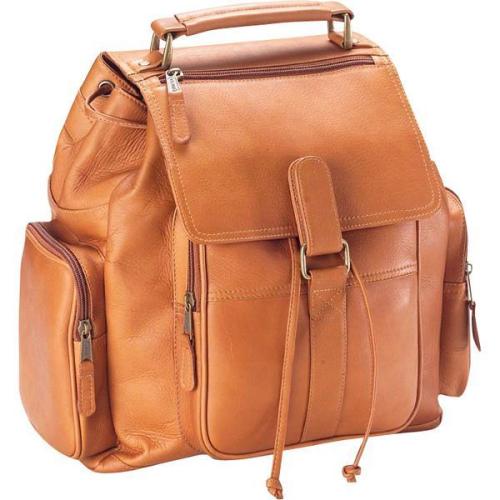
Look at high-end natural-coloured bags and suitcases. Backpacks that look beige and matt when sold darken with age.
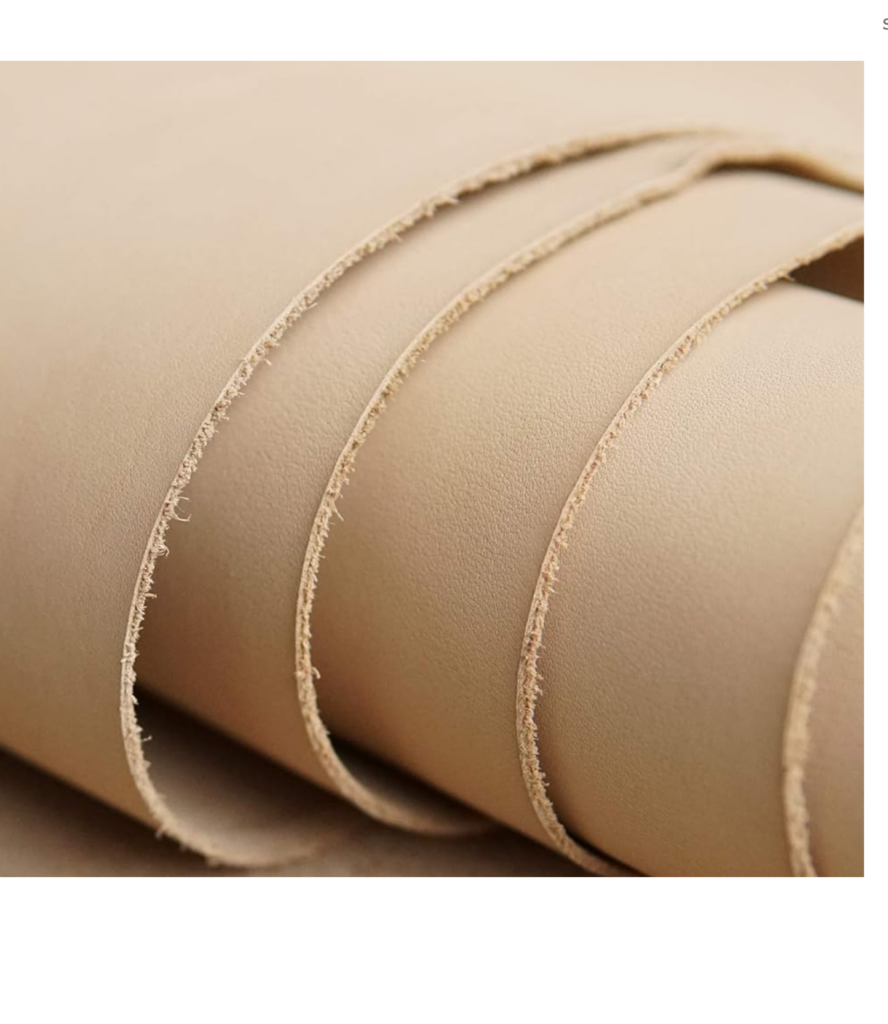
Google defines vachetta leather as a vegetable-tanned, minimally greased full-grain leather from thin cowhides.
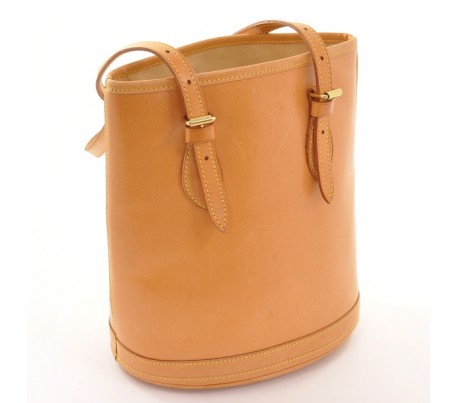
It is usually light beige at the beginning (natural coloured). It’s not too shiny, especially if untreated. It can be treated and dyed to have more shine, but the texture is always almost non-existent.
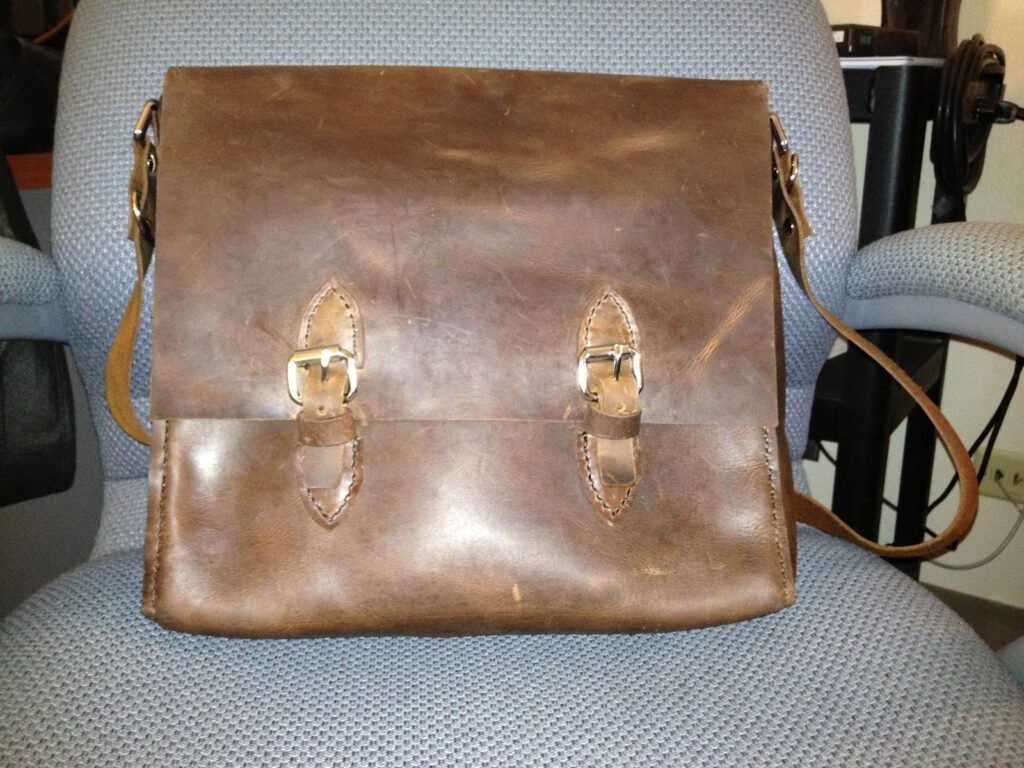
It stains easily, darkens in sunlight, and absorbs all the grease and water it comes in contact with. It’s especially visible if used for bag handles.
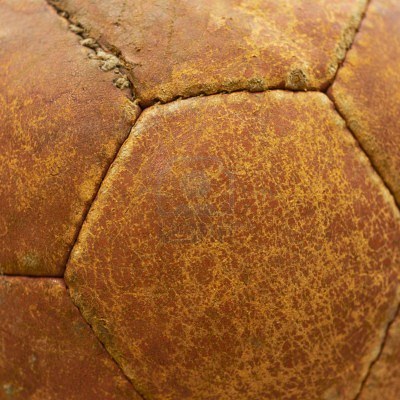
Due to the contact with oils, water, and dirt, it darkens and gets more shiny with use. The surface is less durable than grain leather. It is easier to scratch, and the scratches are usually lighter and more matt than the rest of the surface. It’s evident in the more weathered areas.
The thinner the leather, the more creases and wrinkles form from use. But even the thickest one will eventually create severe creases in the areas it bends the most.


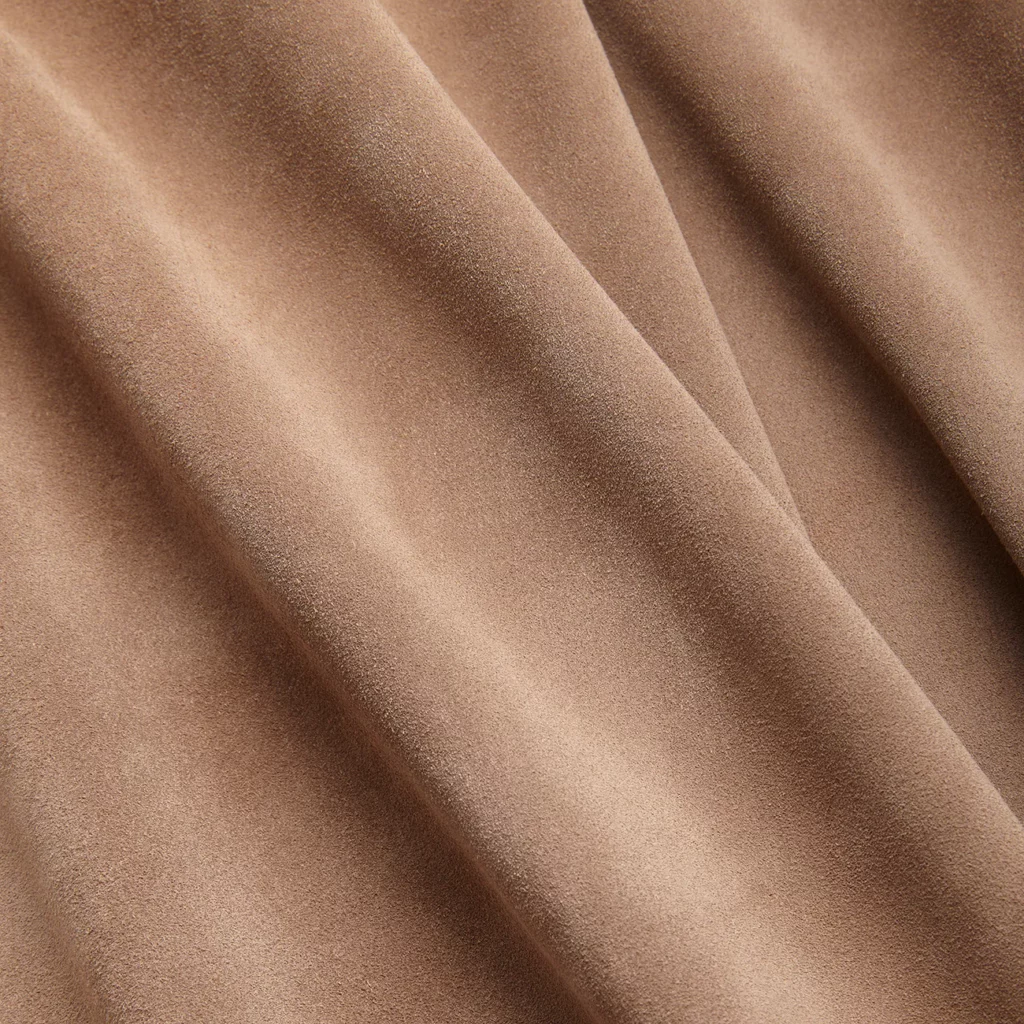
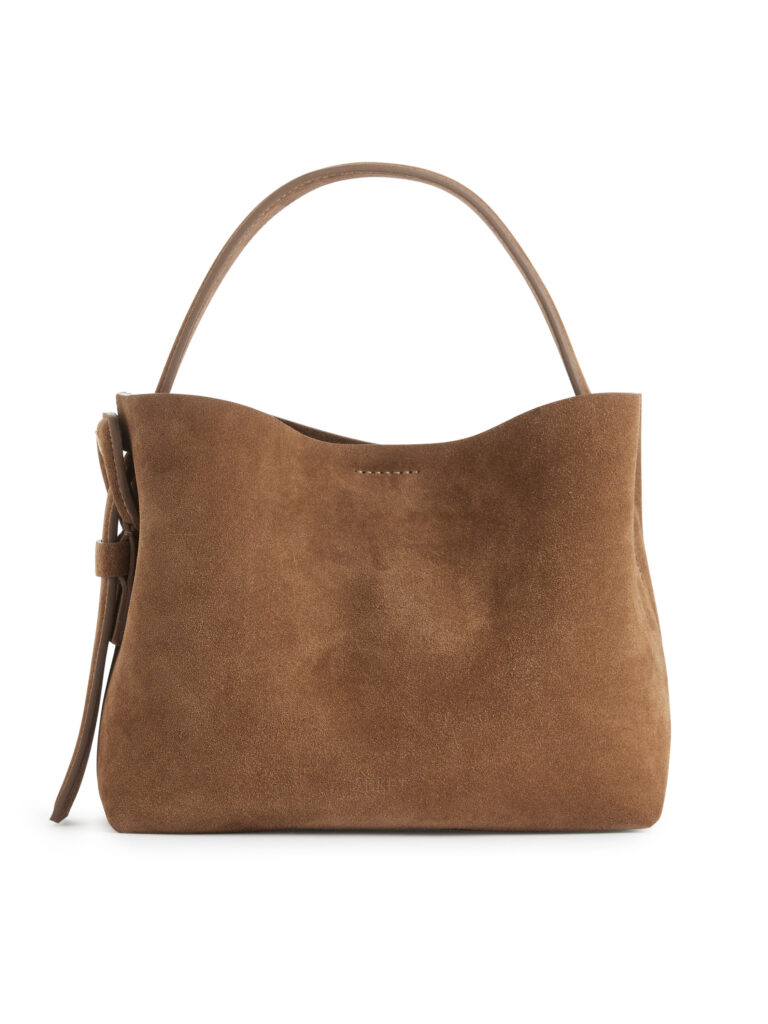
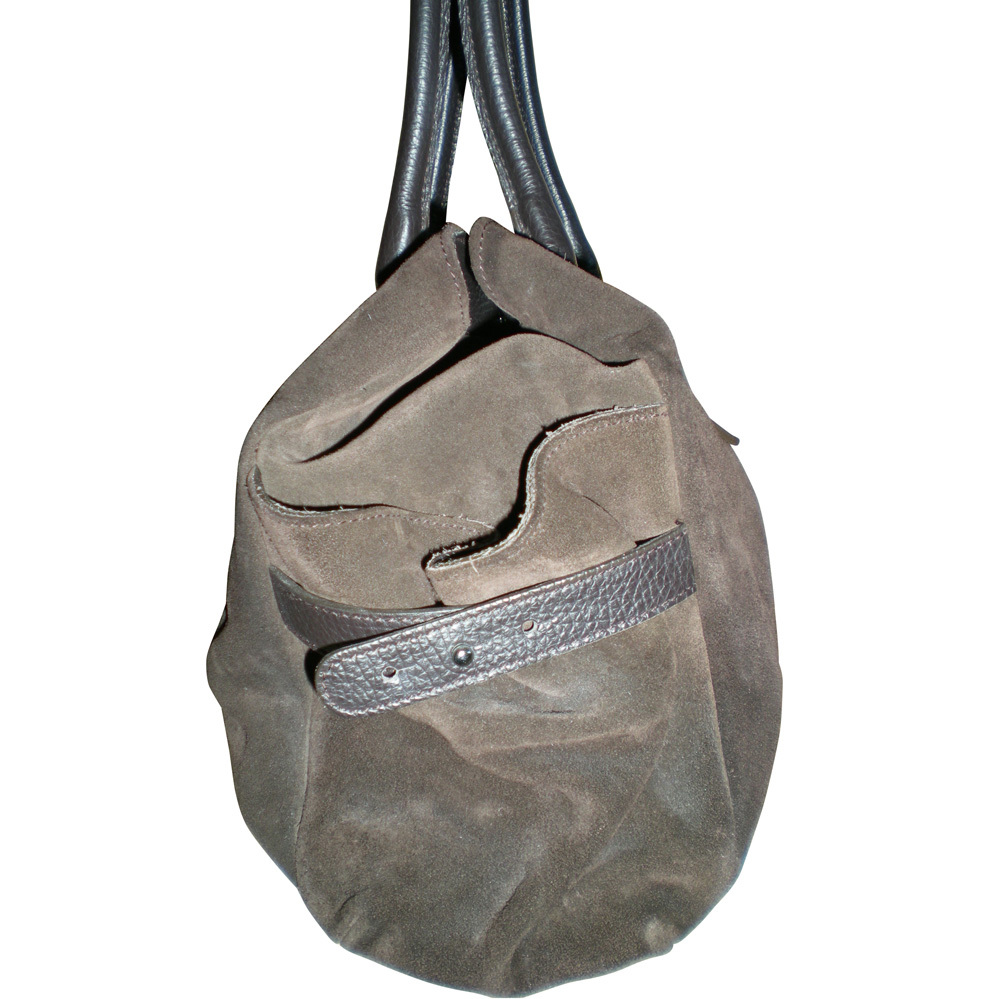
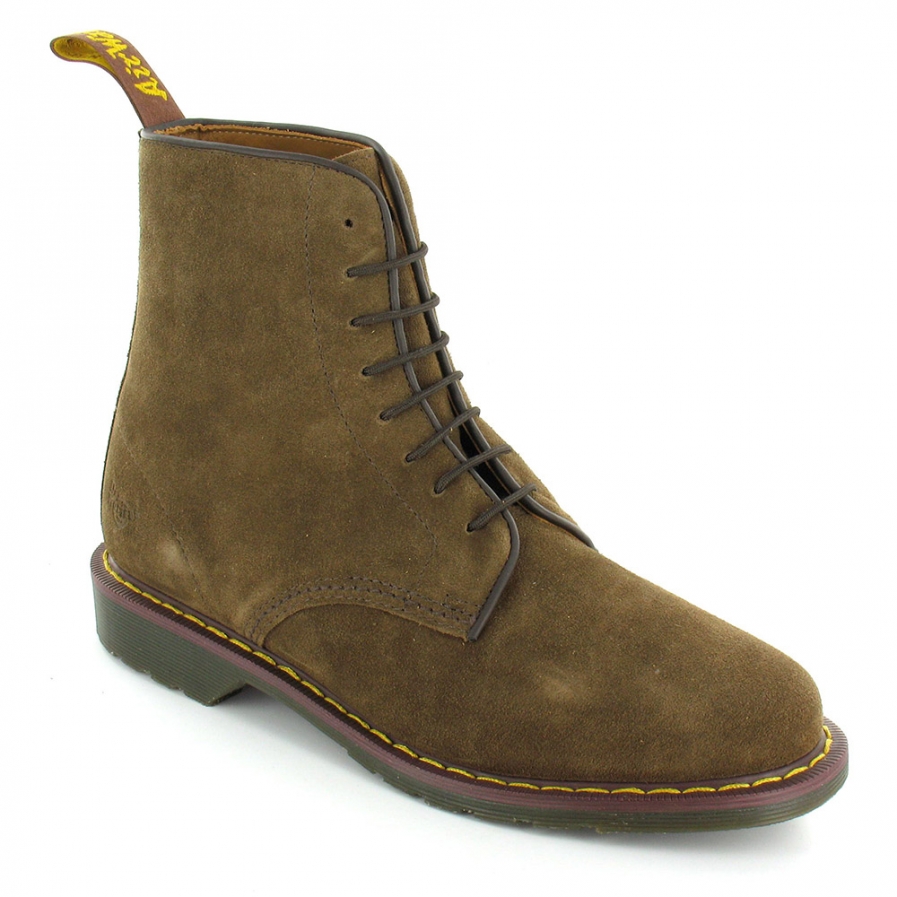
Suede
Nubuck, buckskin, and everything else that looks soft matt and feels a bit like velvet.
Due to its nature, this type of leather is very matte and soft and behaves more like cloth than leather. It also gets dirty, more like cloth than leather. The lack of a top layer makes the dirt stick between looser fibres.
The most typical signs of wear and tear are stains, darkening and slight shine. It happens especially when the leather is pressed together by repetitive motion. Then, the shiny parts start behaving more like vachetta leather. They are not as tough, though, and it’s way easier to scratch the shiner surface.
That’s not all leather types; just the most common these days. You should do more research if you’re trying to paint some less common types of leather. There is a kangaroo, snake, crocodile, or fish leather. Yes, fish leather does exist, and it looks pretty cool).

How Leather Theory Applies to Miniature Painting.
After reading through all of that, you might be thinking: “Why do I even need to know this stuff? Leather is leather – slap some browns on it and call it done.” This is definitely one way to paint miniatures. It might even work for army painting, but only if you’re not trying to win “best painted army” at your local hobby store.
But it’s also the lazy way. And if you’re reading articles about miniature painting, lazy probably isn’t your style.
The more you understand the materials you want to recreate, the better and more realistic your painting will be. That goes for leather and everything else. I like to challenge myself with textures because there’s always something new to learn and improve.
So with that said, let’s get into the actual painting.
How to choose colours for realistic leather on miniatures.
Leather comes in various colours, from light beige to dark brown and black. The colour you choose should match your miniature’s theme and colour palette.
Contemporary leather can be dyed in any colour you can imagine. So when you paint modern or s-f miniatures, choose whatever suits your colour scheme.
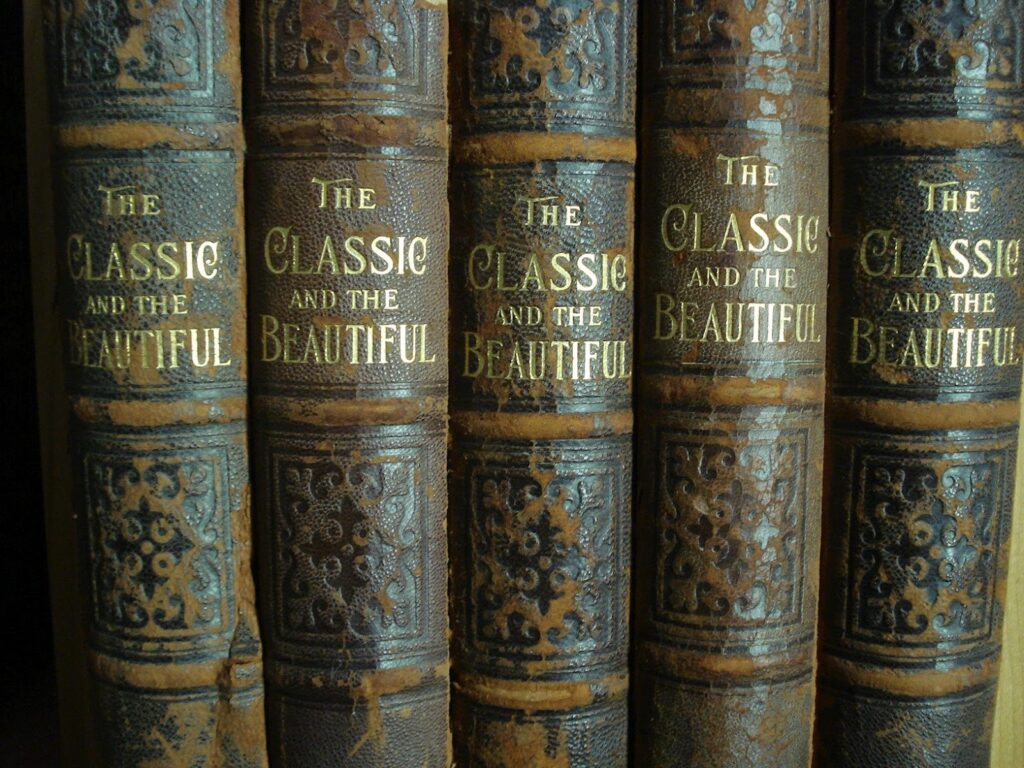
When painting leather on historical pieces, I’d rather go with natural shades of brown, grey and black. I have no idea which colours were available back in the past. If you are curious about that, feel free to do deep research on the subject. I’ll just go with natural browns. This way, it’s safer. I won’t have to explain to people that, according to some old and dusty books, this shade of colour was available on leather at that time.
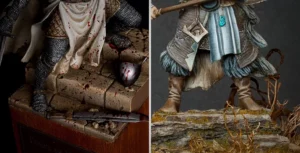
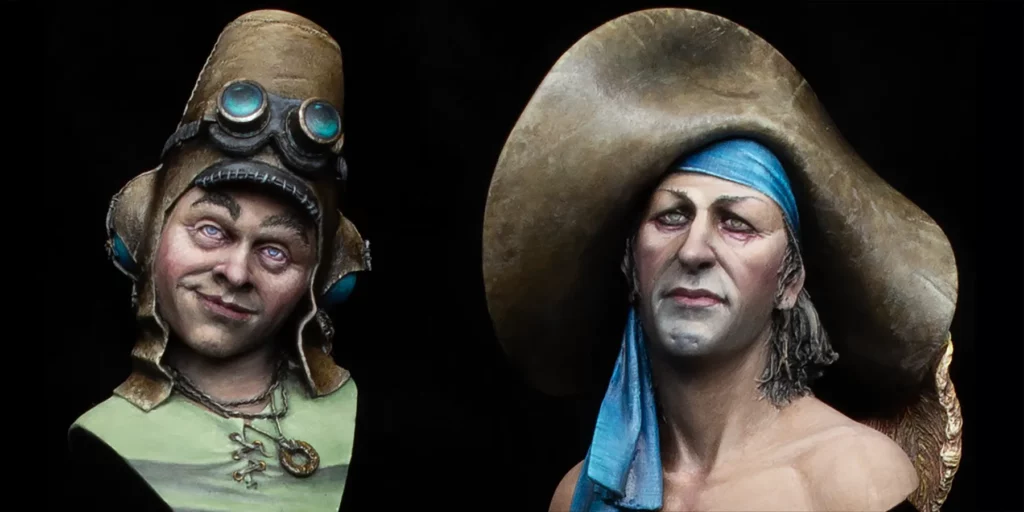
My step-by-step process for painting realistic leather elements.
When painting leather miniatures, I usually start with relatively light colours. I’m using beige, light brown, ochre, and yellowish shades of brown for a base. Then, I slowly build up darker parts with washes and thin, uneven layers. For this part, I use various browns, black and reddish browns, and even green and blue if I go for colder shades. I’m not worried the surface is getting glossier in the process. Leather often has some sheen to it. And if it gets too shiny, I can mute it in the deepest shadows with some matte medium added to the paint.
I don’t paint too neatly. I use quick, random brush movements, stippling, and uneven layers. This helps me to mix and layer various colours.
To add a more worn look, I go over the glazes with the base colour or darker shades of brown. I add some extra highlights when I’m more or less happy with the lights and shadows. I wash them lightly in the process to make them blend better. If the highlights get a slightly chalky look, it’s even better. Damaged leather often loses its shine.
How to create convincing leather texture.
Leather can be smooth or rough, and the texture will determine how you apply your paint. For example, if you paint a smooth, soft leather jacket, you will want to apply your paint in thin layers to avoid creating brush strokes.
To create a nice texture of more rough leather, add lots of washes and paint layers applied unevenly to the surface. It helps me to build a dimensional texture of the leather. To add more texture and mimic rougher leather, you can use an almost dry brush with a bit of colour. Make sure the brush isn’t too wet, and dab it in the surface where you want that particular colour and roughness. This technique is simple but effective on leather. It looks particularly good on bigger-scale models, where it looks very natural.


Painting damage for realistic leather.
Typically, leather gets darker when used (due to contact with oil, water, and other stuff). But if we disturb that top layer, we can often see the lighter colour showing beneath. To recreate that effect, we can ensure that the whole surface shows signs of wear and tear.
Painting wear and tear on leather elements.
I create this kind of damage by uneven application of paint. I’m not neat while I’m painting shadows. But if that is not enough, you can add some more wear and tear. Take an almost dry brush with a small amount of bright beige and dab the leather to create random spots. Just concentrate on the places most likely exposed to that kind of damage.
This is also a place where you can use dry brushing to add more variety of colours. It will also add some additional roughness to the texture.


How to paint realistic leather edges.
To create damaged and worn-out edges, I’m adding lighter paint on the edges of the leather element. Then, I’m adding some thin light lines going roughly perpendicular to the edge to add more wear and tear. I’m focusing on the areas that would naturally get more use.
After that, I’m adding some glaze with one of the darker colours to get a more unified look.
If I add a dark, thin line right beneath the light one, it gives me the illusion of a cut/break in the surface.
I use that method mostly on belts and straps or on the edges of bigger surfaces if that looks believable.
You can also add thin lines of damage in the middle of leather elements. But be reasonable while doing it. Only add the type of damage you can justify by the item’s usage. People usually take care of their things. Especially if their life depends on it, so adding too much wear and tear can look unrealistic.
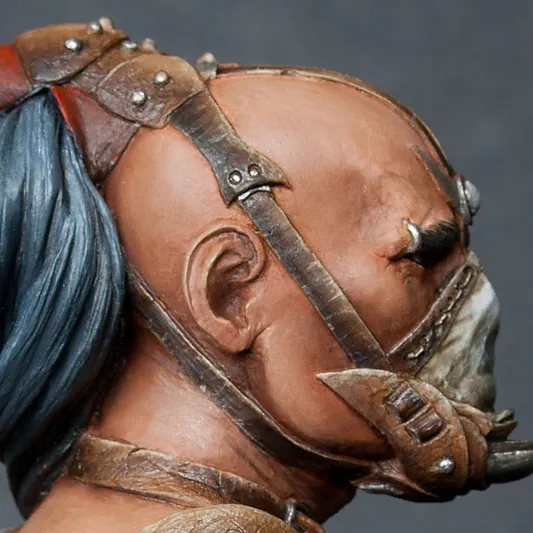
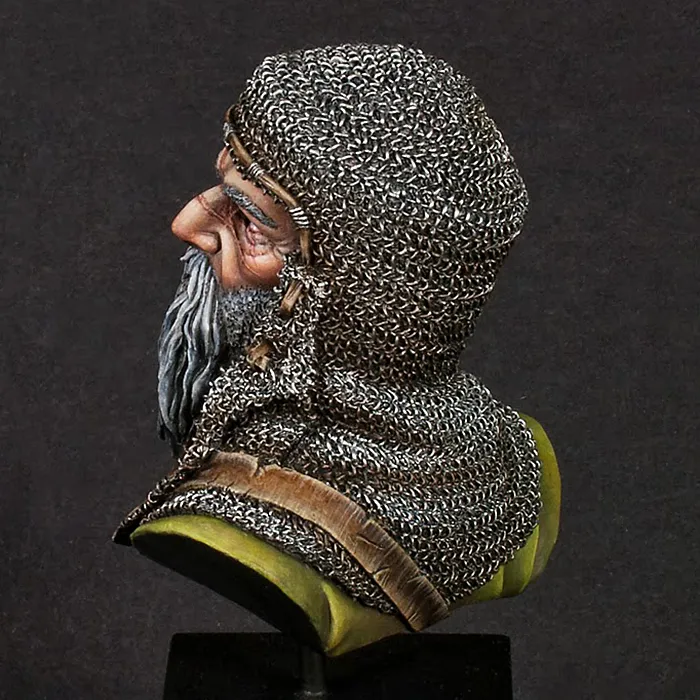
The process of painting leather is a relatively simple technique, as you can see. It only requires some practice and research on the type of leather you want to recreate. Unfortunately, I don’t have any step-by-step pictures to share. The process involves a lot of back and forth, making it difficult to document properly. However, I have gathered some photos that display different stages of the process. I hope they will give you a better understanding of what I’m doing.


That covers the theory. Knowing the different types of leather, how they age and get damaged, is just one part of the equation. The rest comes down to painting and practice. If you want to see how I put this into action, take a look at the two articles below. They walk through specific projects and should give you some helpful ideas for your own miniatures.
Painting Leather on Miniatures – Case Studies – where I talk about how I approached painting leather on some of my favourite miniatures.
Ein Stein’s Leather Apron – a short tutorial covering painting leather elements that are heavily worn out.