Travelling with miniatures can be a nerve-wracking experience, especially when things go wrong.
After my own mishaps and seeing some horror stories on Facebook, I’ve learned that accidents can happen at any time. If you’ve ever faced the nightmare of a broken miniature, you know how devastating it can be. Especially if it happened right before a painting competition or gaming tournament.
The key step to avoid disaster—something I’ve learned the hard way—is to mount miniatures to bases and plinths. I’ll focus on securing full figures to their bases in this article. Busts will get their special treatment later on.
Well, mounting miniatures, in a word, it’s securing the miniature or bust to the base. So it is like pinning, but not parts of the miniature together. We are pinning the whole piece to the terrain and plinth instead.
I know it’s not rocket science. Most of you know how to mount a miniature to the base. But these articles are for beginners. They might need help with things so obvious to more experienced hobbyists. I know I did. In my early years as a miniature painter, I made many mistakes. A few good tips could have saved me a lot of headaches.
More often than not, the figures we paint are standing, walking, or even running. The surface of the miniature that touches the base is relatively small. The miniature’s height and weight may cause massive pressure on its small surface area. The tension might be too big when the miniature is being held, handled or transported. The glued surface might break, resulting in a damaged paint job or broken miniature.
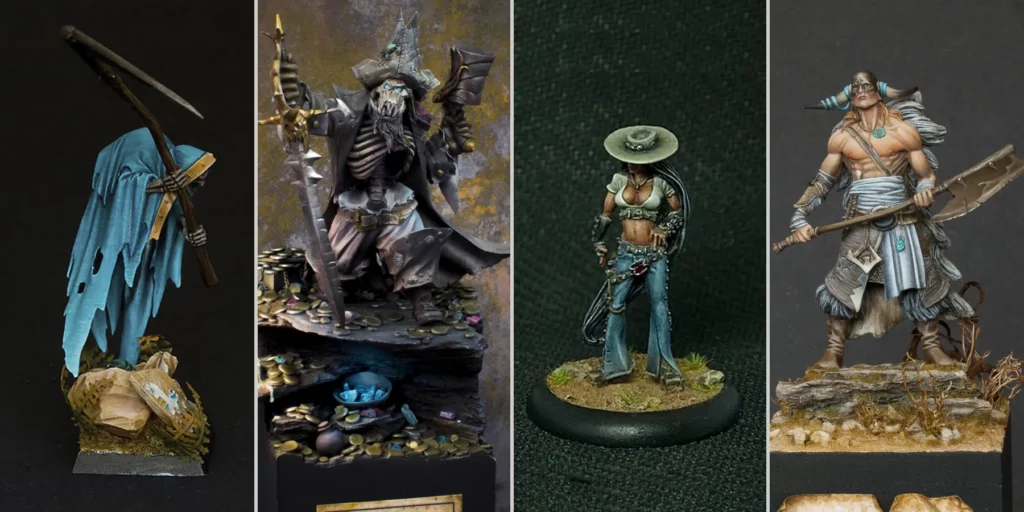
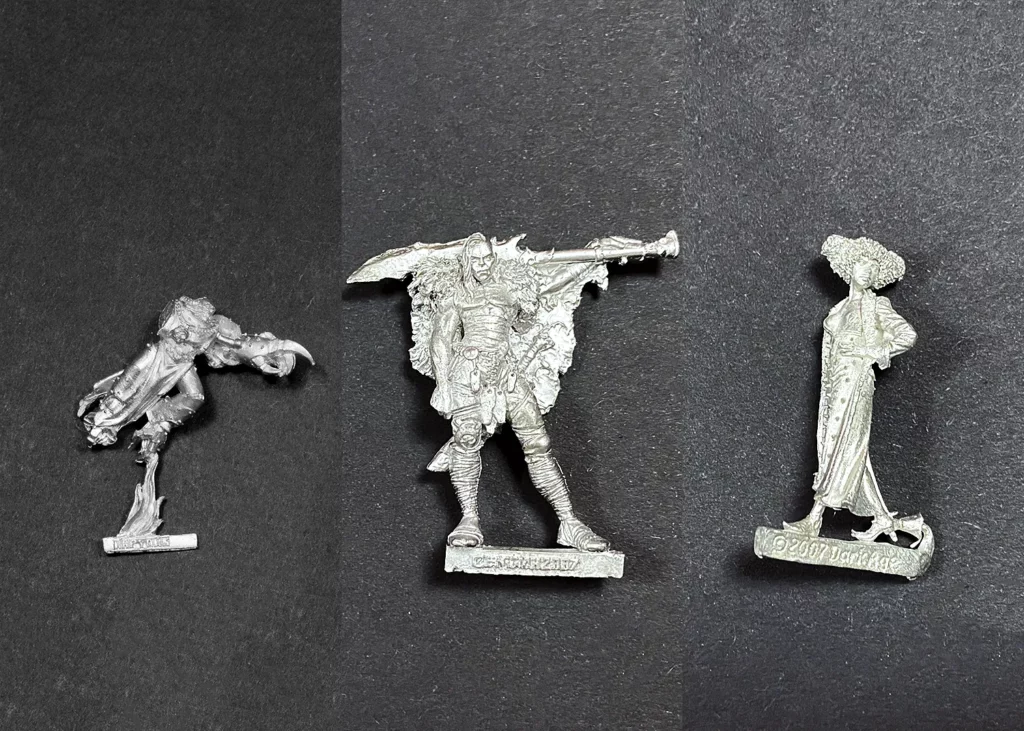
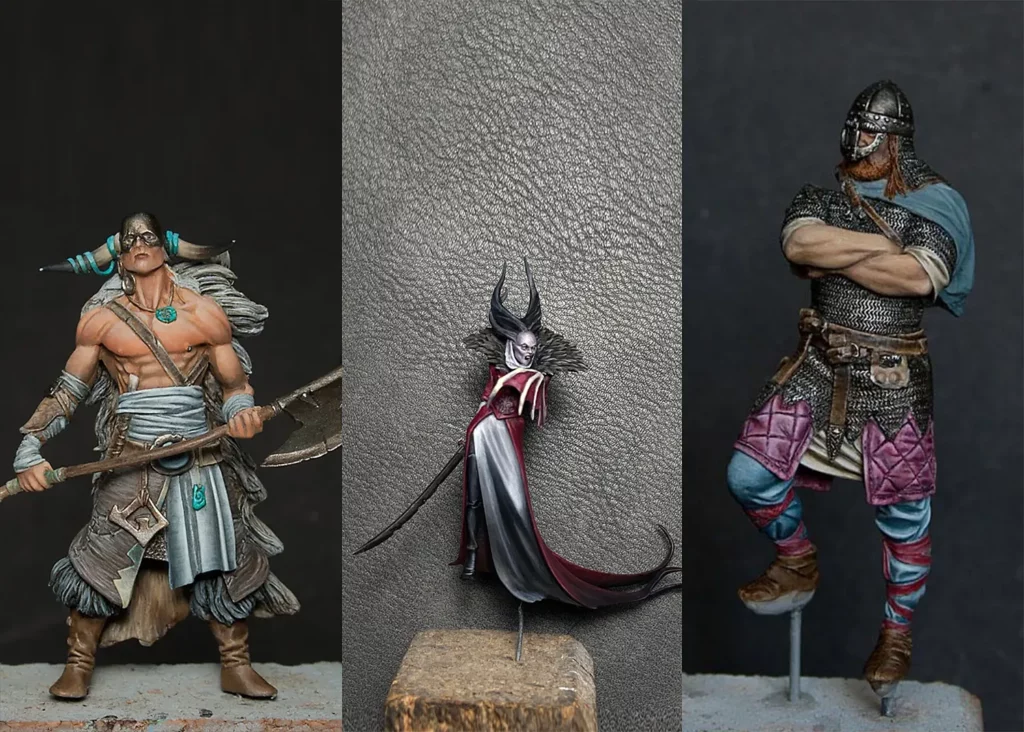
Check out how little surface contact some of the miniatures have with the base (and keep in mind the scale, only the hell puppy is small, rest is from 75mm to 150mm+).
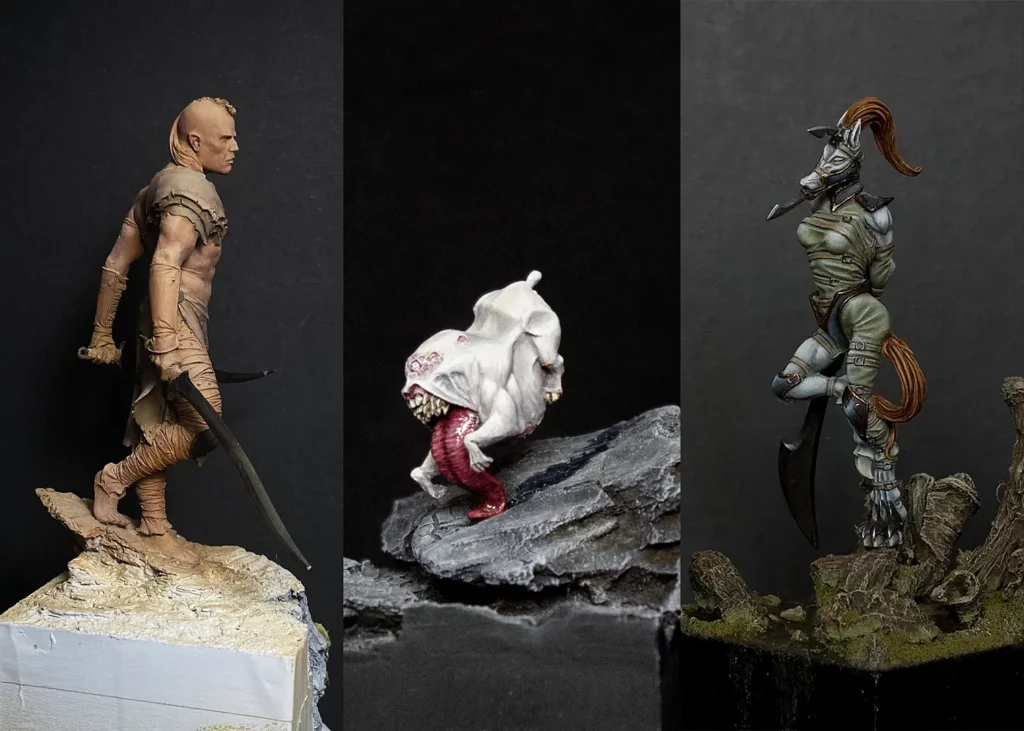
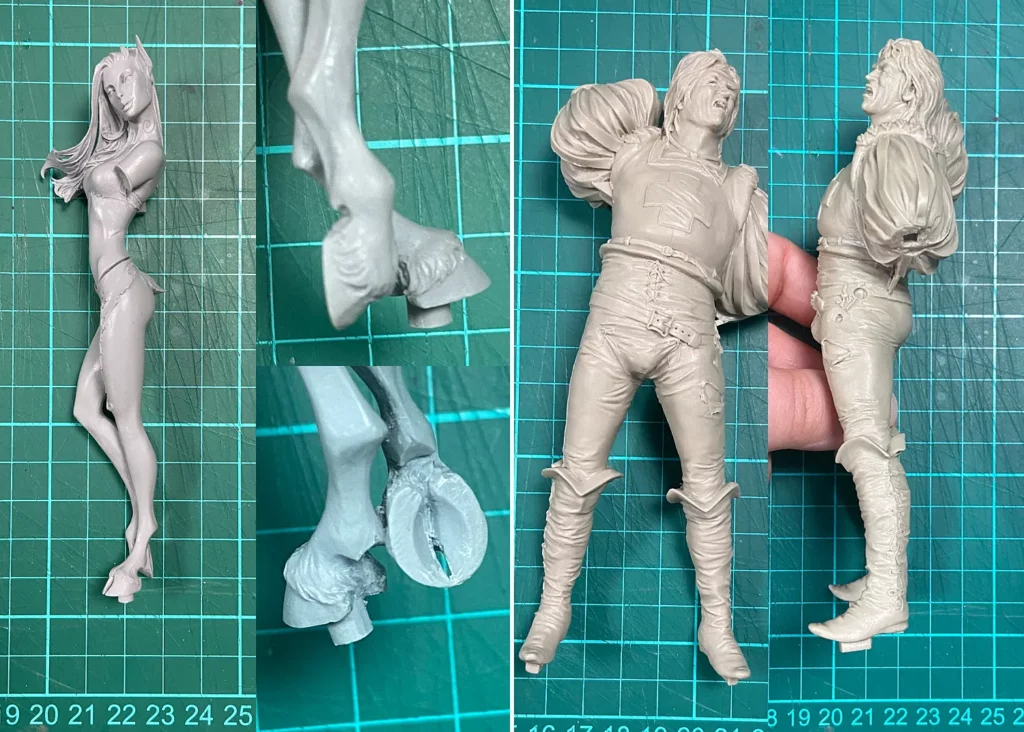
And what happens when something goes wrong, you ask?
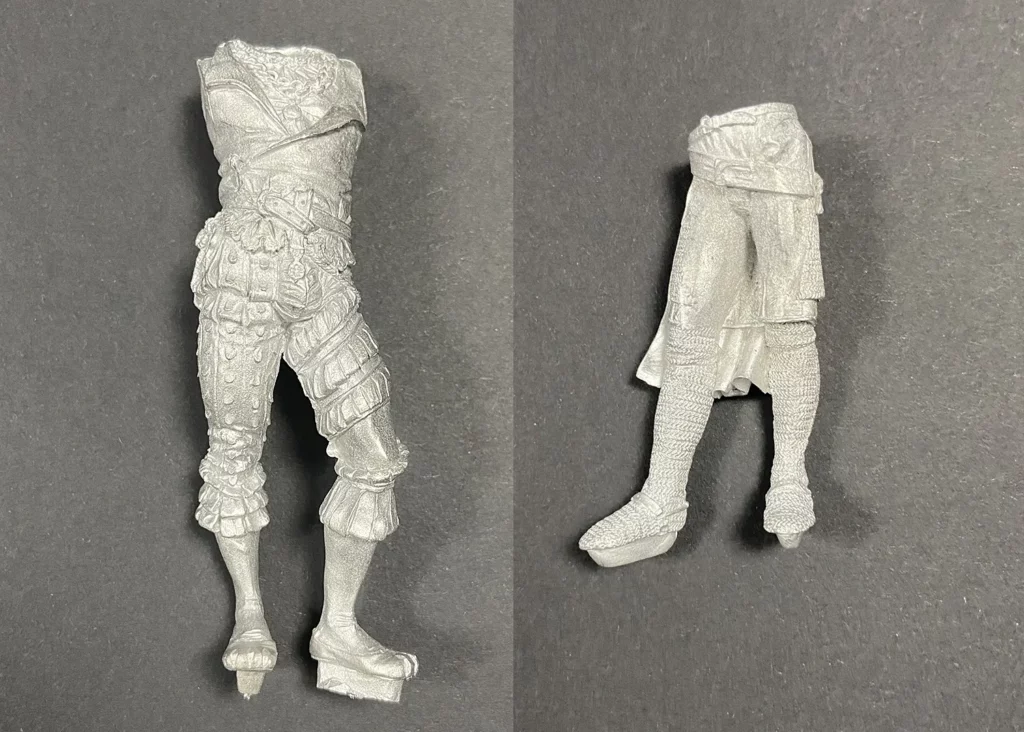
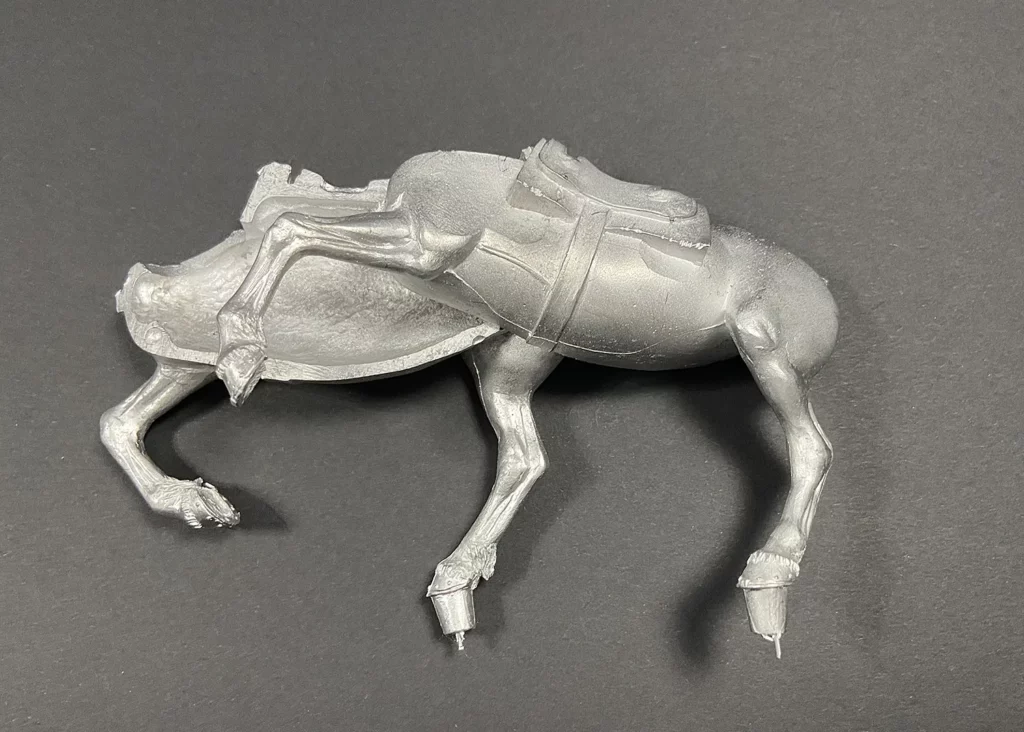
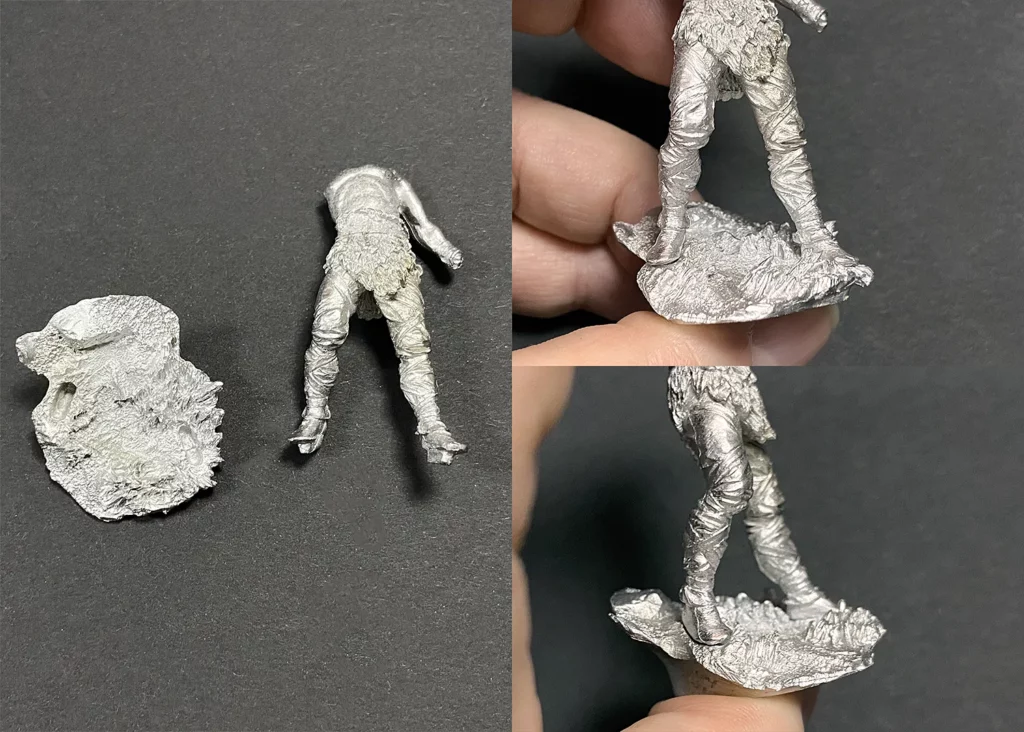
A good photo is worth 1000 words, so no words are needed here. Below, you can see some things that happened to me when I didn’t care enough about mounting.
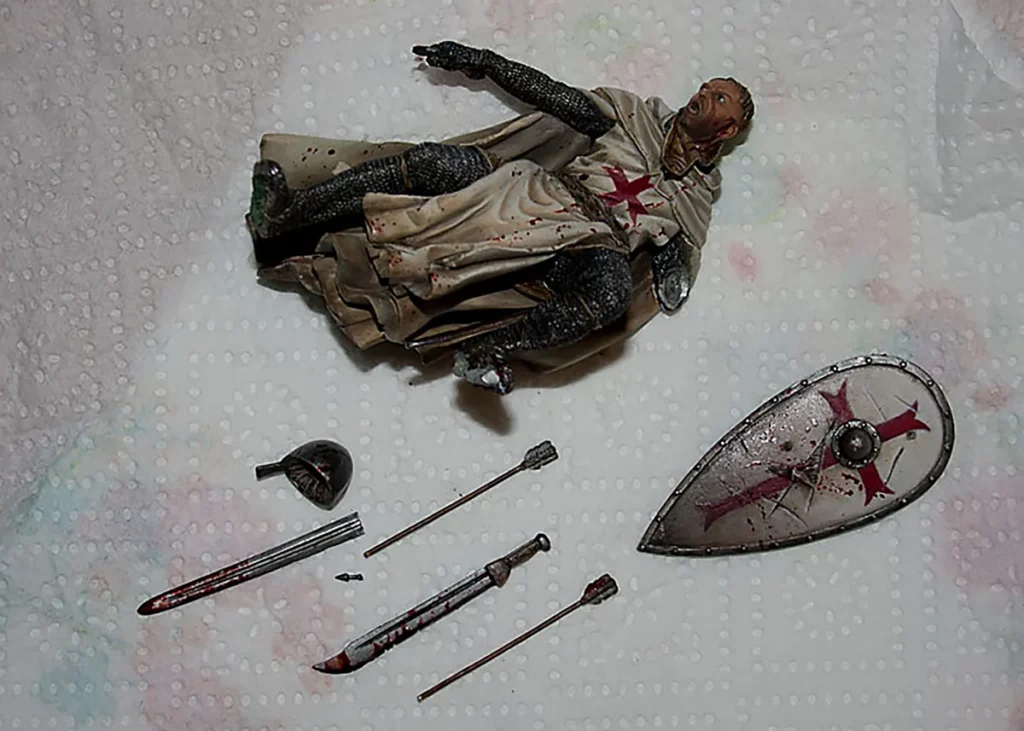
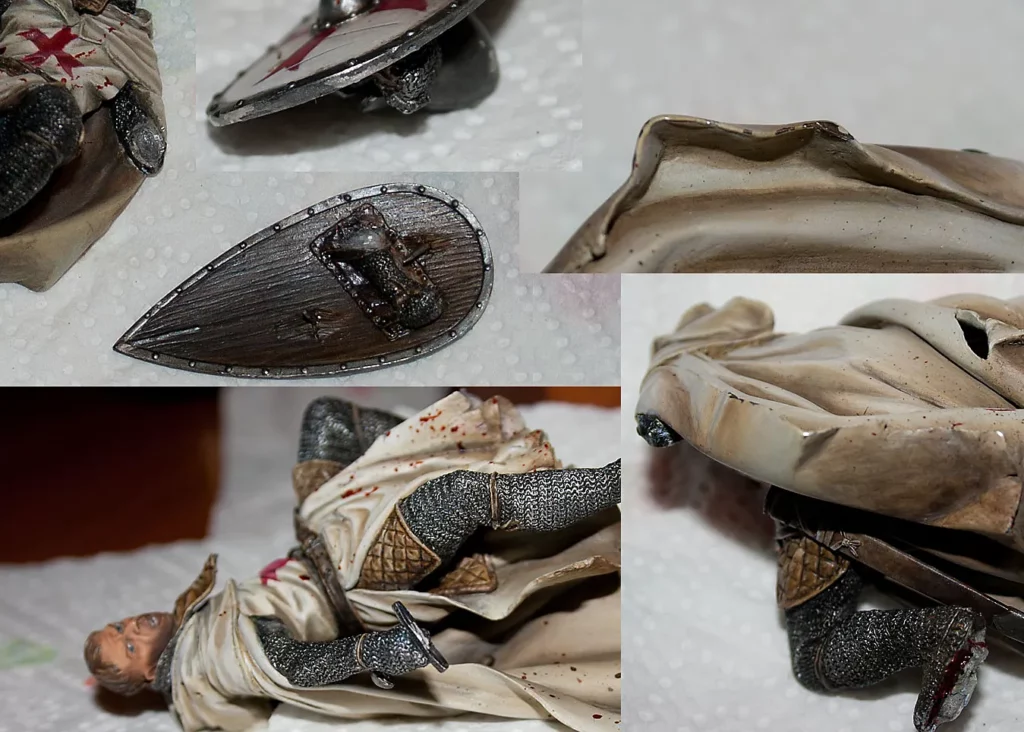
Nightmare-inducing, isn’t it? Trust me, I’ve never made a mistake like this ever again. If anything, I tend to walk on the overly cautious side now.
I admit this happened while transporting miniatures. But we all like to show off our work during shows, don’t we? So, it’s fair to assume you’d like to show your painted treasures. Sooner or later, you’d want to take them out of the display cabinet. You’d like to transport them somewhere more people can see and admire them.
Pinning miniatures to the bases is straightforward. You need just a few tools and materials:
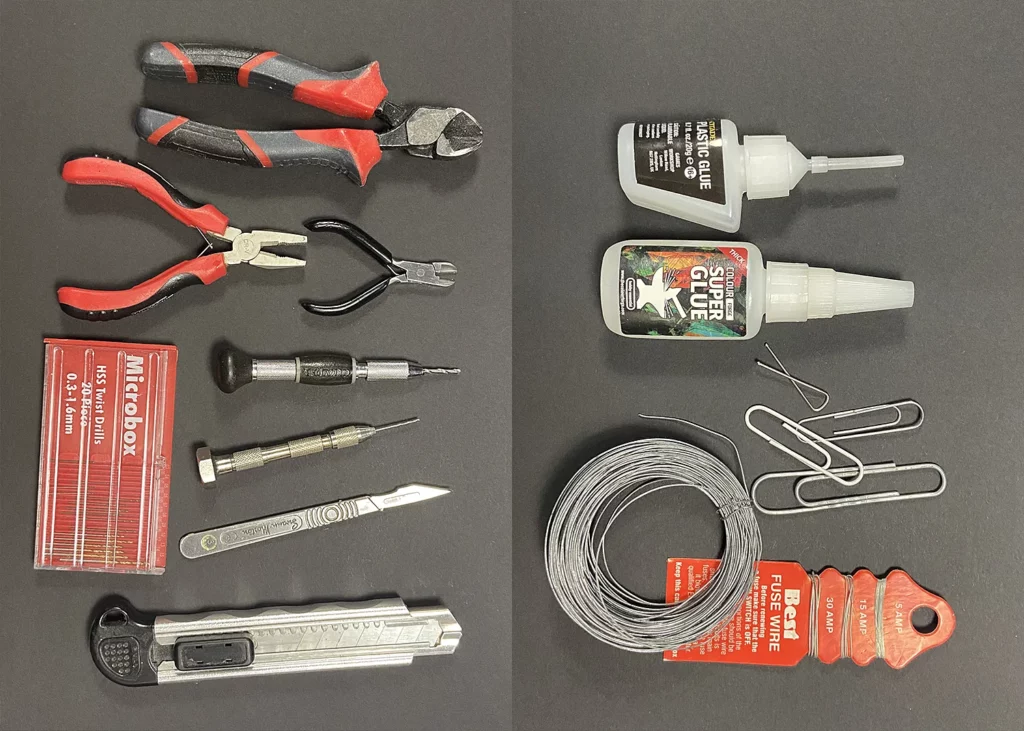
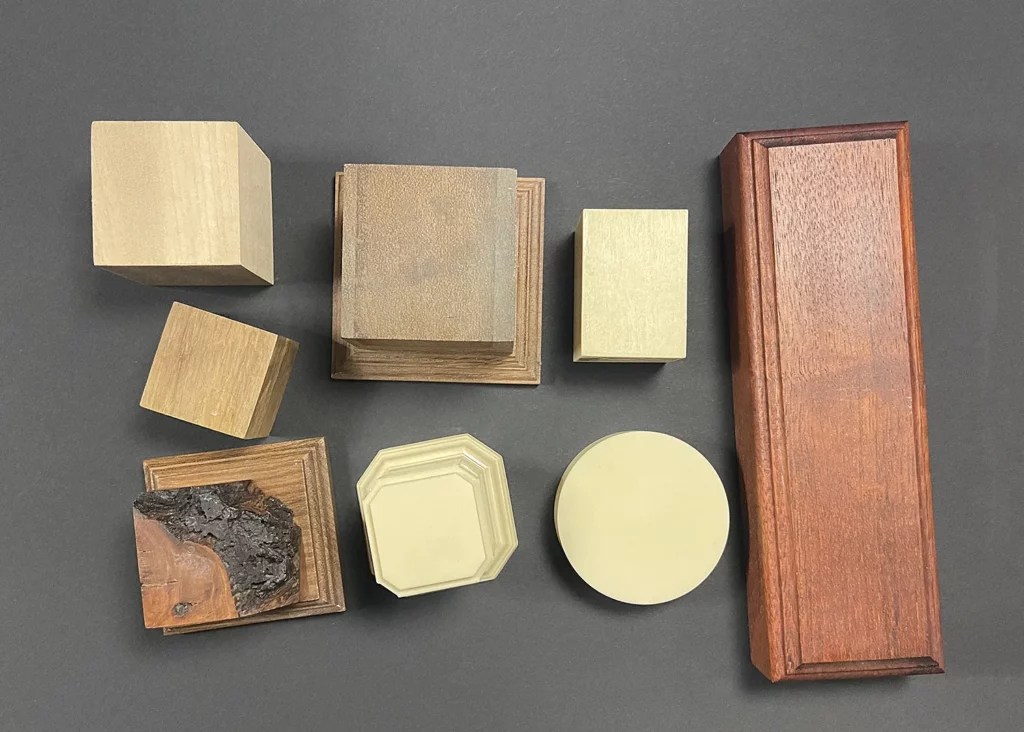
Quick Tips for Tools & Materials:
Mounting miniatures means connecting the figures’ feet to the base with a metal rod or bar. The rod’s length and diameter depend on the material of the miniature, its size, and the terrain used. The rod supports the miniature and increases the surface area in contact with the glue. It strengthens the bond, making the construction more stable. The metal pin through the ankle of the figure adds support to the sculpture’s thin part.
Quick Tips for mounting miniatures:
Now that we’ve defined mounting let’s look at how to do it. We’ll focus on the three primary materials of the miniatures: plastic, resin, and metal.
Miniatures made out of plastic are light and usually smaller scale. More often than not, they are gaming pieces, and we mount them to gaming bases. There are a few ways in which we can mount plastic miniatures to the base:
Some of the oldest plastic miniatures had a bar under their legs. And the base for the miniature had a slot for this bar, like a piggy bank. If the base work allows, you can use the plastic bar connecting the miniature’s legs as a pinning element. The photos below show some examples of the plastic miniatures with this feature. Please don’t laugh; that’s all I could find in my stash.
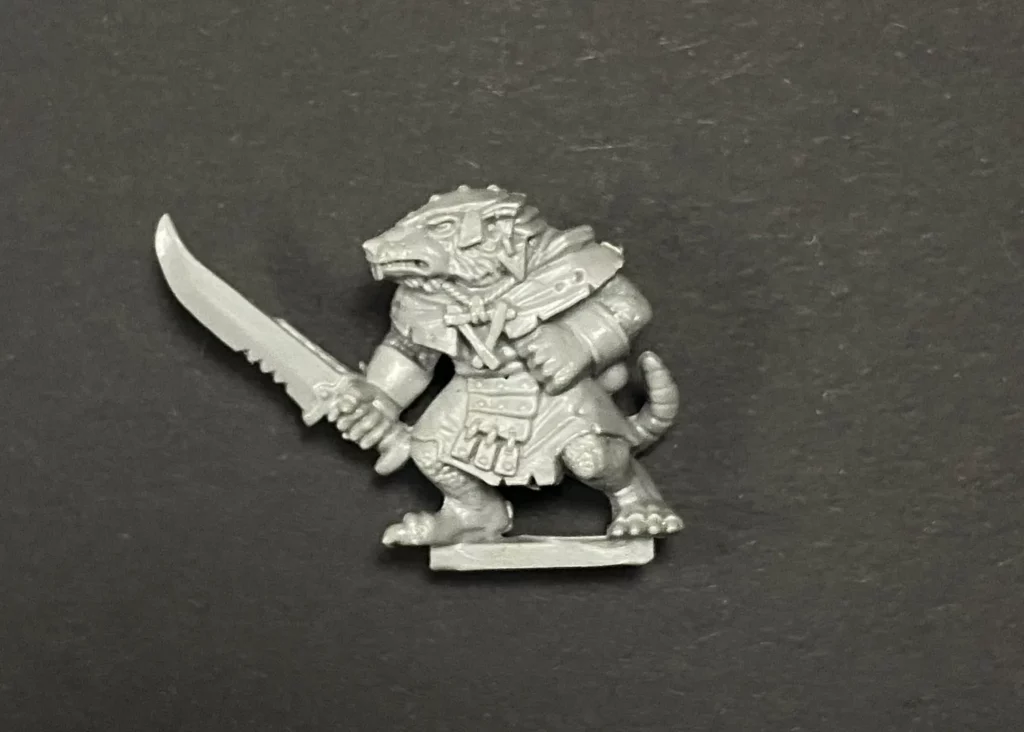
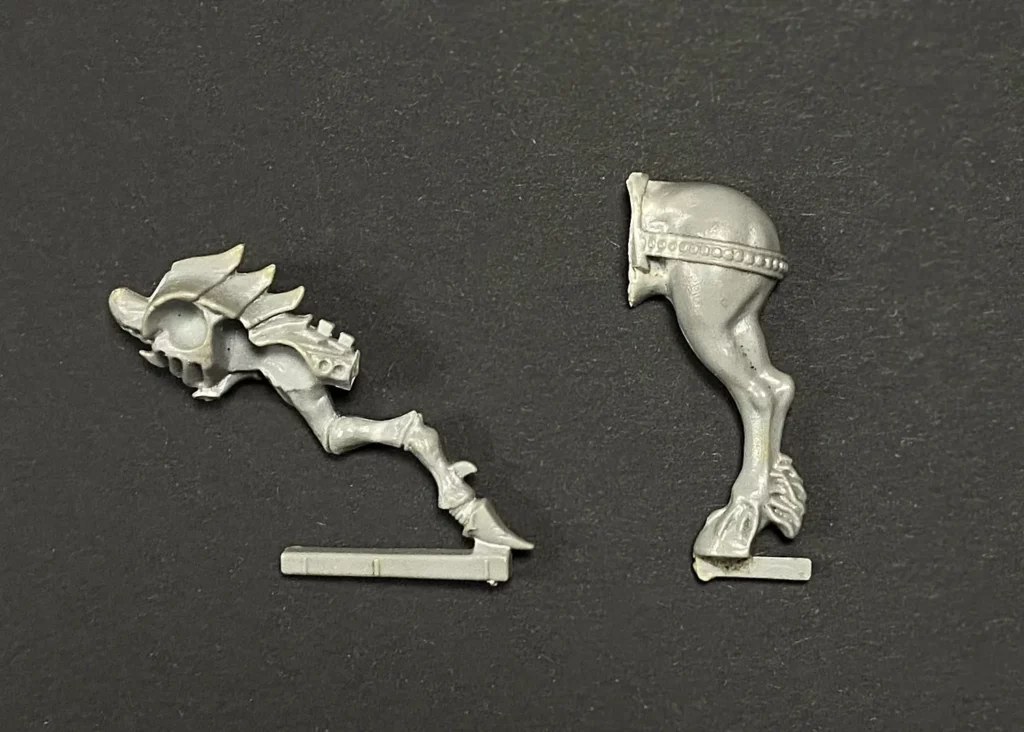
All the bars are short, going only 2-3mm into the base. But, the weight of the miniature is so insignificant that this kind of connection will be more than enough.
If the miniature has no bar or rod, or you need to remove it to use your desired base, drill a small hole in one or both feet. Then, glue a small piece of metal wire in. Drill holes in the right places of your base and glue your miniature in place. The wire can usually be short. If you use a gaming base like I did in the photos below, it’s better to leave it a bit longer. Bend it under the base and secure it with more glue.
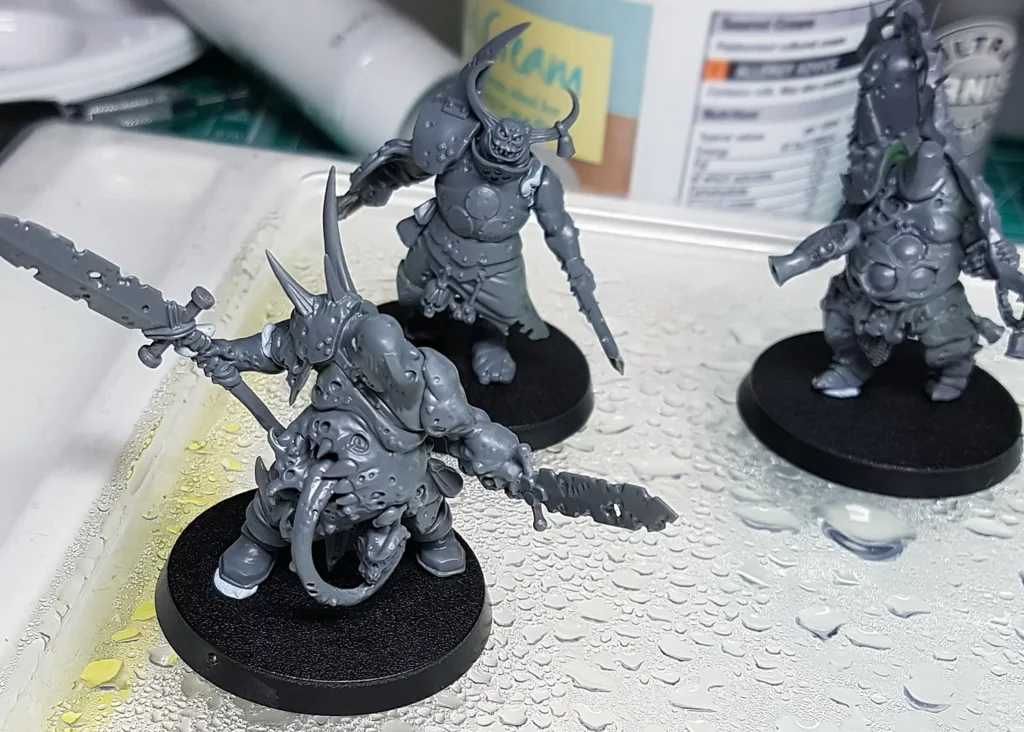
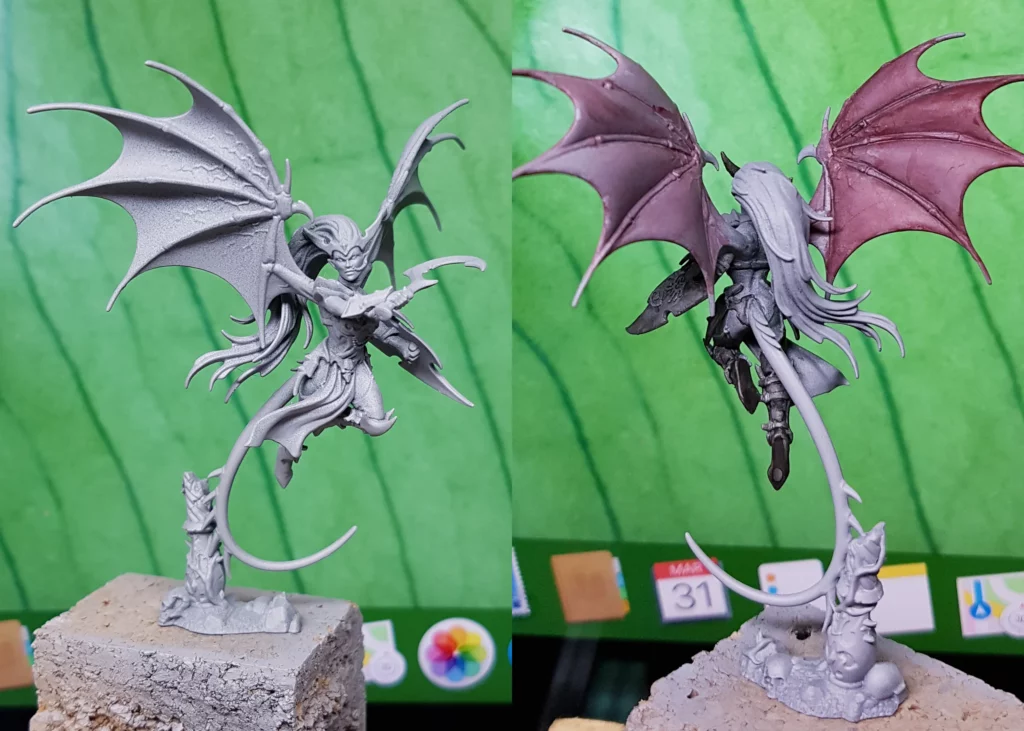
While drilling your mini’s leg, always aim for the heel of the boot so you can drill a deeper hole. But if it’s impossible, i.e., the mini is on its toes, just be careful not to drill too deep into your miniature’s feet. You don’t want to drill all the way through. Always try to pin both feet for extra protection.
If the miniature is hollow inside (i.e., the legs of the mount are in two parts and empty), it’s good to secure the top part of the rod with extra glue. The additional glue will keep everything in place and prevent breakage during transport or game. Alternatively, use some putty inside the leg before assembly. You can drill through it later, like in solid plastic, to insert the pin.
There is a new type of plastic miniatures available for a while now. I call them clip-on minis. You put them together like Legos, using keys and holes in respective parts. These miniatures mostly have round pegs under one foot. They fit into a hole in the base. This kind of key and some glue is enough to secure them properly.
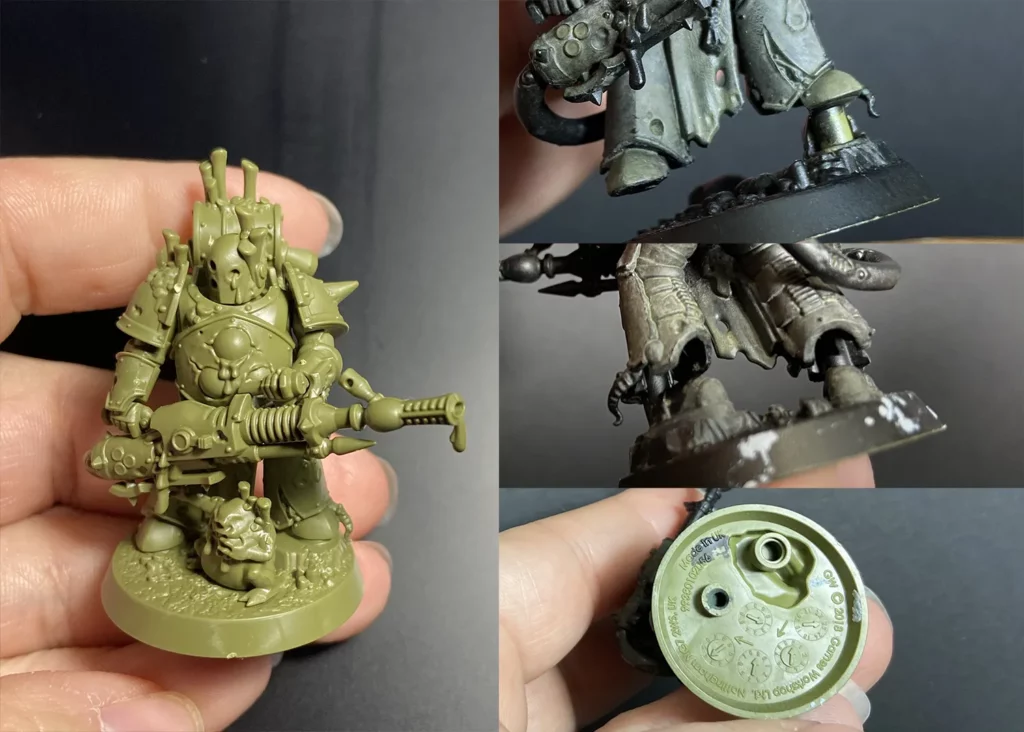

There is another thing you may encounter when dealing with plastic models. In gaming circles, people often use magnets instead of pins to attach parts like weapons and accessories. It allows players to swap gear without permanently glueing the mini. You can customise your miniatures by using magnets in the arms, weapons, and other parts. This keeps them fully functional, and allows easy modifications to your army. You can even use magnets to attach the miniature to its gaming base.
Keeping miniature and base helps transport larger models with bigger bases. It helps keep everything secure during travel. However, while this method works well for transport, it’s not as stable as glueing the mini to the base. So, while the miniature may stay in place most of the time, you’ll want to handle it carefully during gameplay. After all, it’s not completely glued down.
Word of caution, though. If you enter this kind of miniature to a painting competition, warn the judges. Please note clearly on the entry slip that it’s not glued together and requires careful handling. You’ll save the judges the heart attack when stuff starts falling apart in their hands.
Quick Tips for mounting plastic miniatures:
Mounting resin miniatures is similar to mounting plastic ones. They come with different types of pins underneath and often lack pins altogether. They can also be much bigger and heavier. So, a longer, thicker pin/wire is required. They’re also usually placed on elaborate, scenic bases, so more care is needed here.

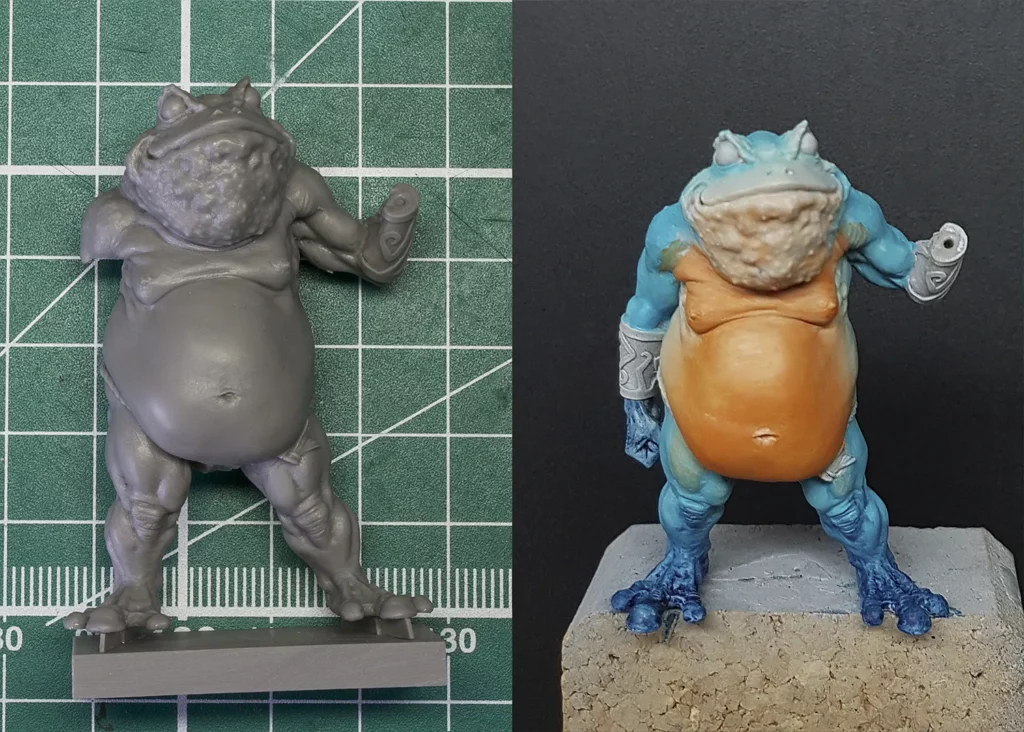
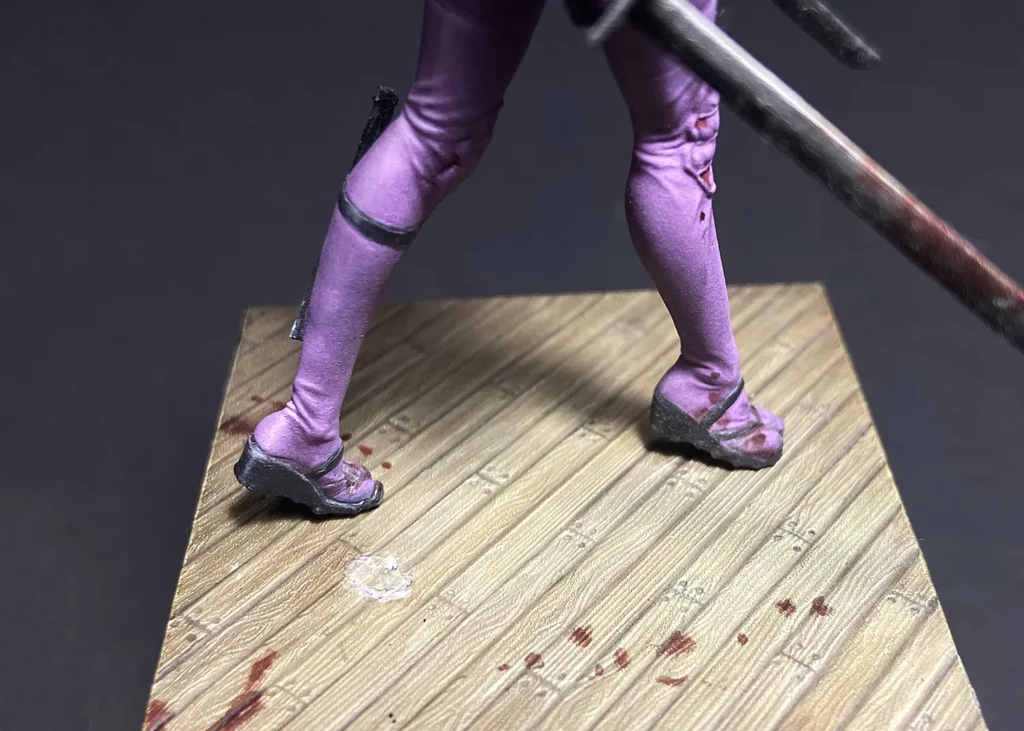
As always, it’s good to drill through the heel so the pin can reach the calf. Below, you can see how I did it correctly and what happens when I chicken out from drilling toes. The pink Ninja is pinned only under her right leg because the left one is resting only on the toes. It was hard enough to drill the right leg, with her walking lightly on her toes, I feared I’d damage the left one when drilling and risked only one pin. As you can see, it wasn’t enough. The figure spins on the pin constantly.
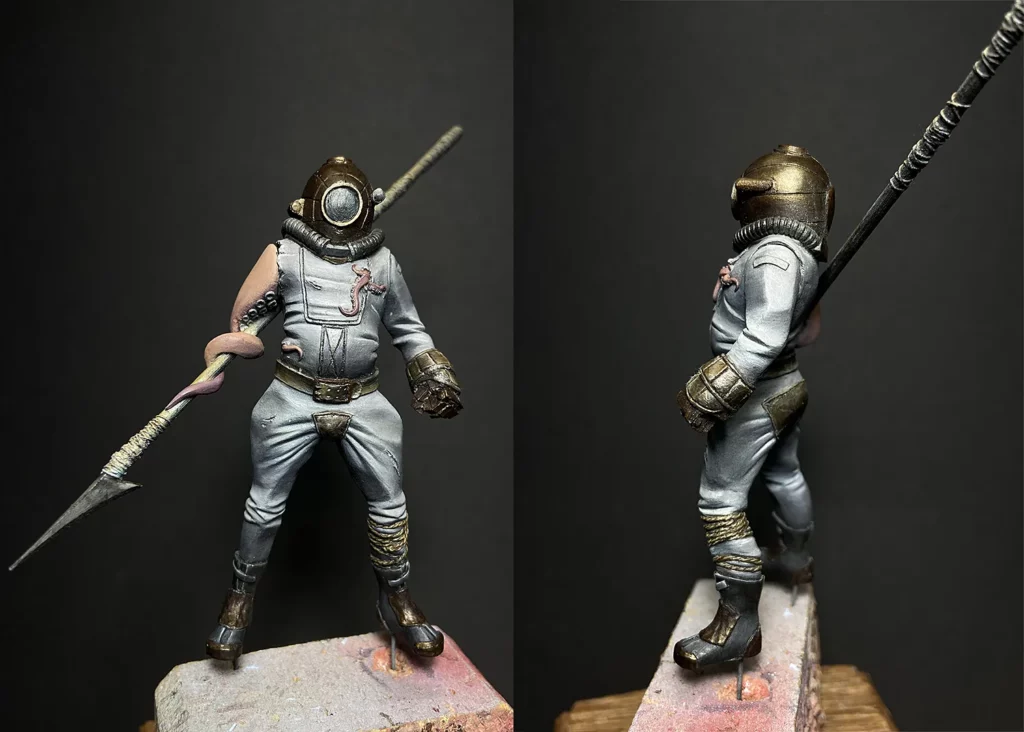
Word of caution when drilling resin. The material can be brittle and prone to chipping, especially 3D-printed ones. I’m always cautious when poking holes in my resin miniatures. Better safe than sorry.
Quick Tips for mounting resin miniatures:
Properly mounting metal figures is genuinely crucial. They are heavy, and the contact surface is small compared to their height and weight. So, while dealing with them, you must be extra cautious and use long, thick pins.
I find mounting metal figures the hardest. Firstly, they are the hardest and heaviest to drill into. Then, you need a thick wire to secure them to the base, especially with larger scales. The photo below shows what kind of ‘pins’ Pegaso provides for their larger scale models (here 90mm). From experience, I can tell you it’s not enough; see the pictures of my Templar at the beginning of the article.
For small-scale metal minis, the bar between their feet is usually enough to secure them to the base. But, it can interfere with your basing idea. So, removing it and pining the miniature with metal wire might be best. Alternatively, you can remove parts of the bar. That will leave rectangular pegs under the figure’s feet. They will be less cumbersome when working on the terrain.
In the second photo, you can see a 75mm figure from Romero. The wedges under the feet are smaller than under 90mm. Even though there are holes in the base for the wedges, I’m still gonna pin both the figure and terrain for safety.
One more thing is essential when mounting metal miniatures: they can bend under their weight. The sagging is especially true for older miniatures made from alloys containing lead. These materials can be slightly elastic.
This issue tends to occur with larger, top-heavy miniatures. It is worse for those in dynamic poses or with raised forelegs, like horses. Even though it happens only to specific types of miniatures, it’s worth addressing. Bending can affect your model’s stability over time and ruin the beautiful paint job.
These tips will help you keep your metal miniatures in excellent condition for years.
Quick tips for mounting metal miniatures:
Depending on the shape of the miniature and the size of the base/plinth, there are two options.
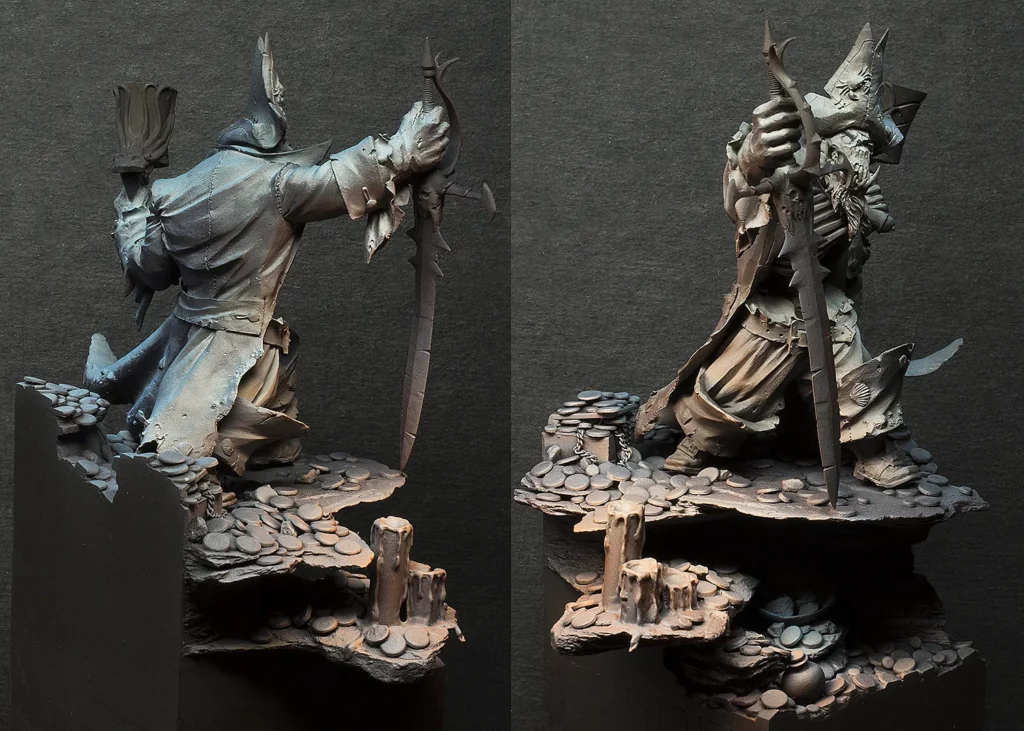
Both approaches have pros and cons; you must decide what works best. I mostly paint my miniature separately from the base. I assemble them briefly when I need to add non-zenithal lights and shadows. I can easily apply zenithal lights separately.
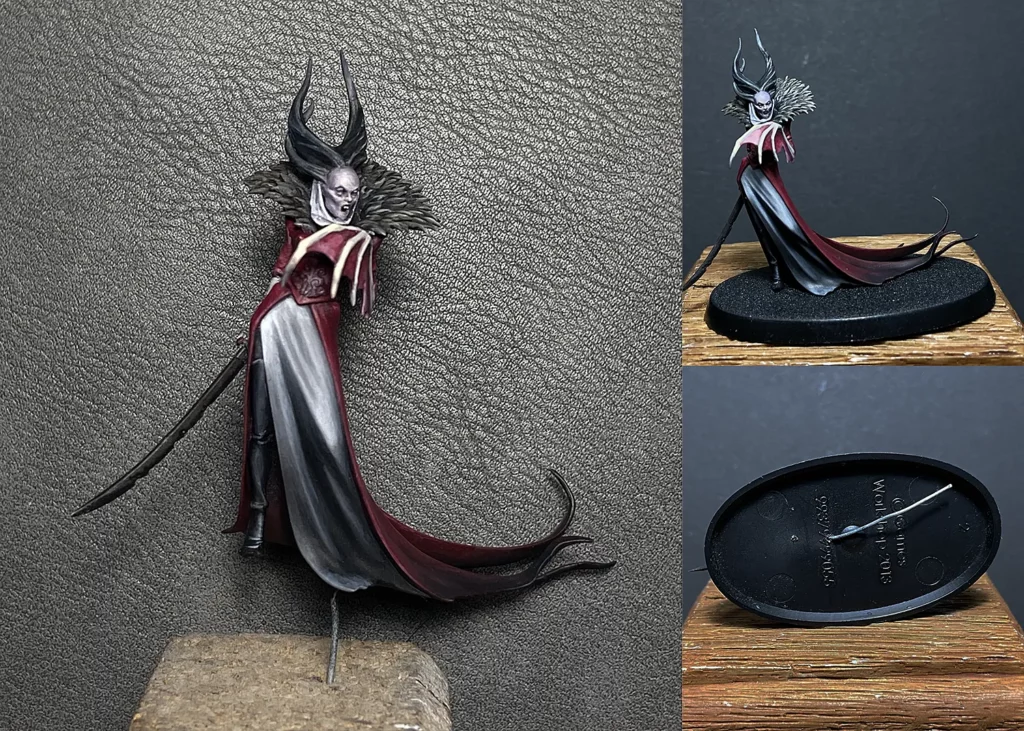
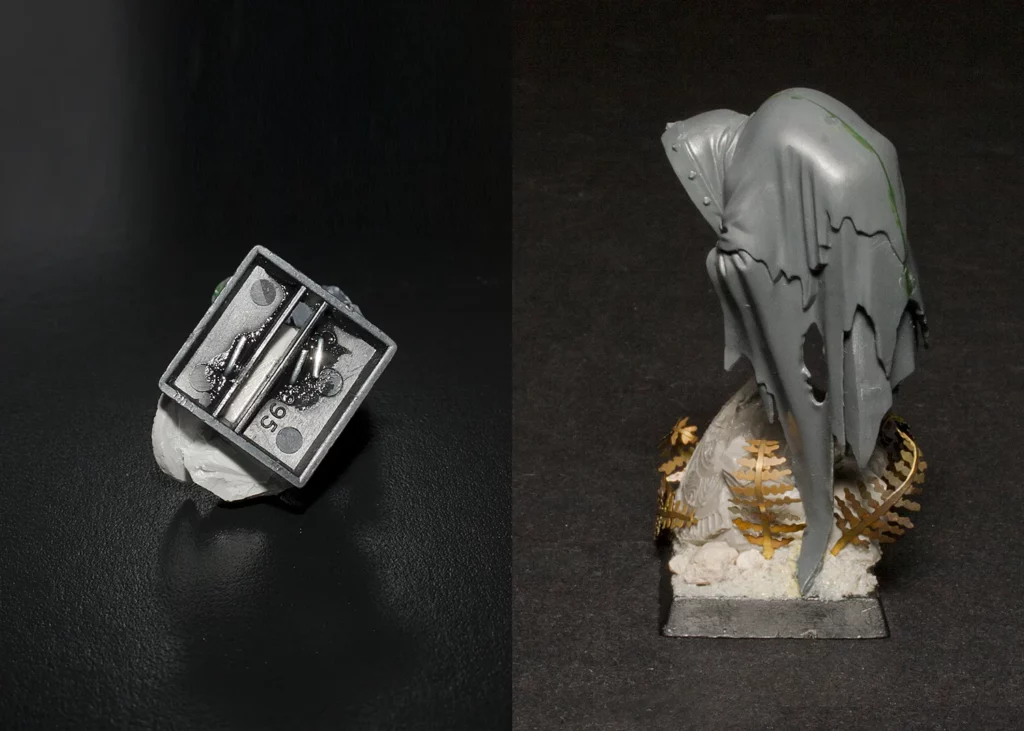
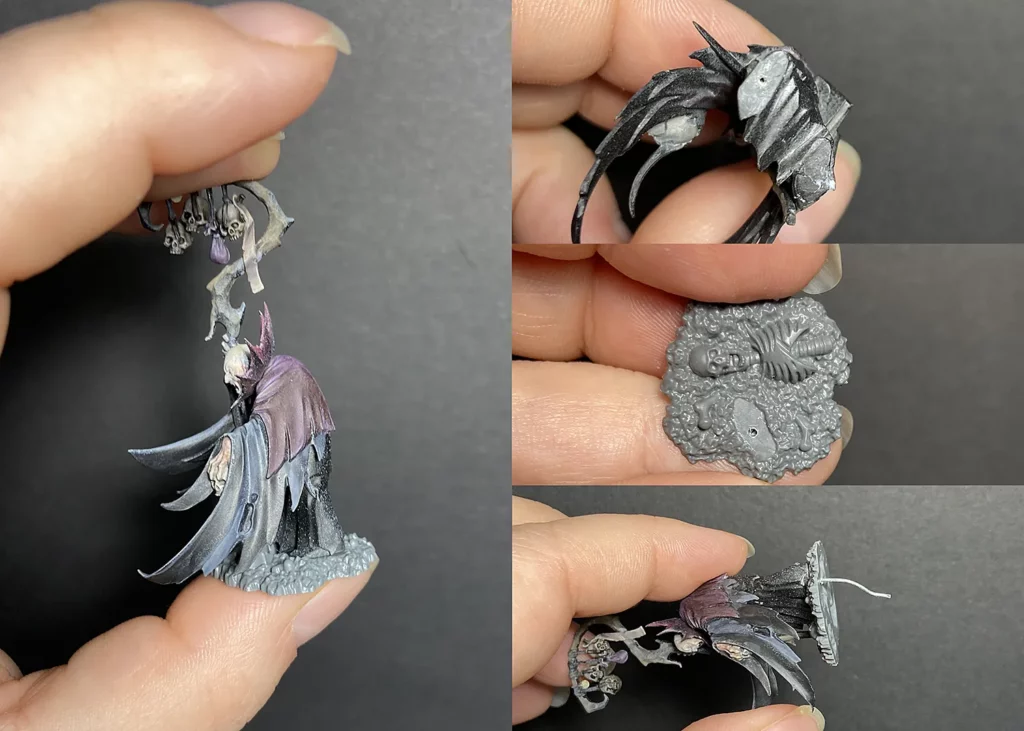
The other situation when I paint everything together is when the miniature is very much embedded in the base, and glueing it after painting would be difficult, like in the examples below. The little Wraith from Games Workshop is attached to the base just by one of the tails of the cloak. The Elf’s left foot and calf are cast with the terrain.
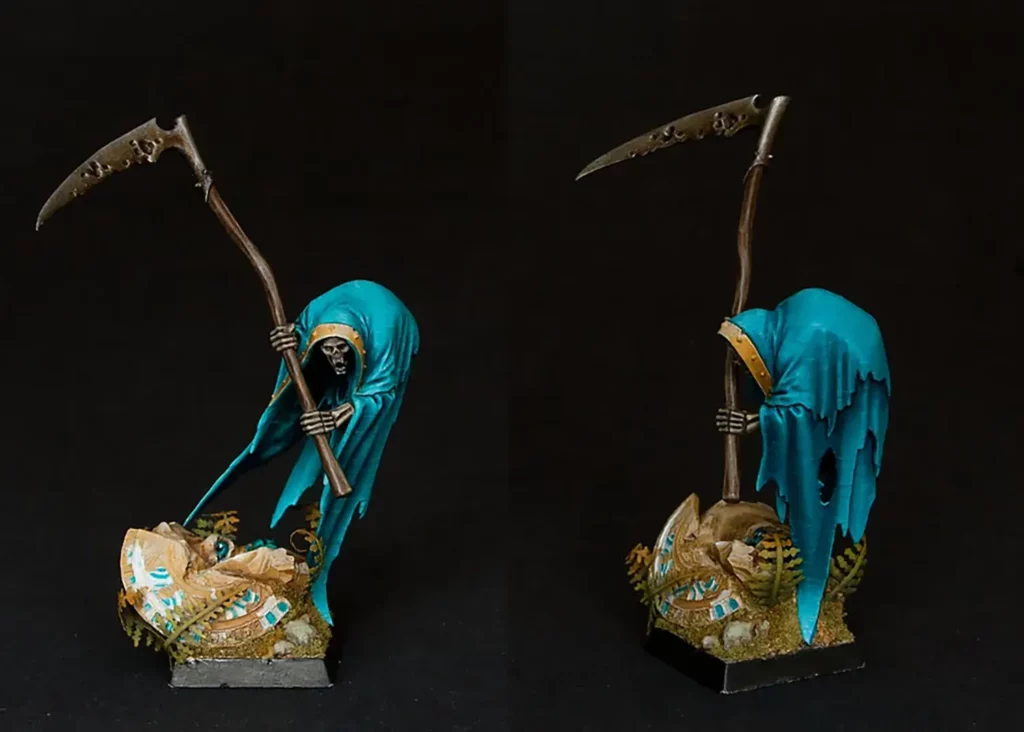
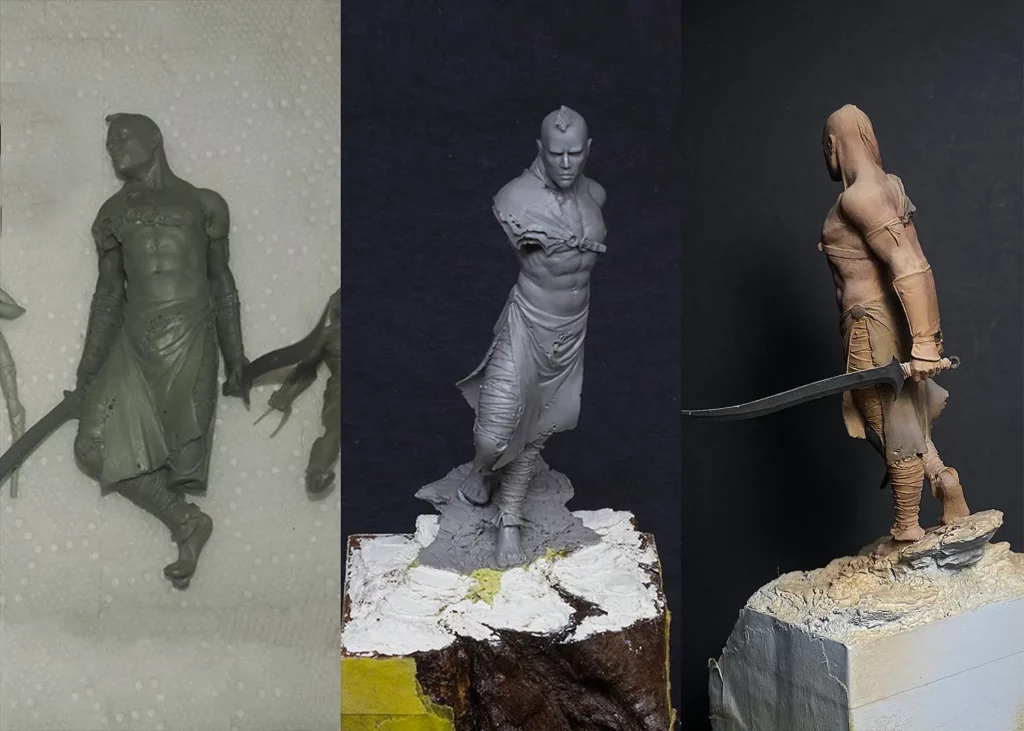
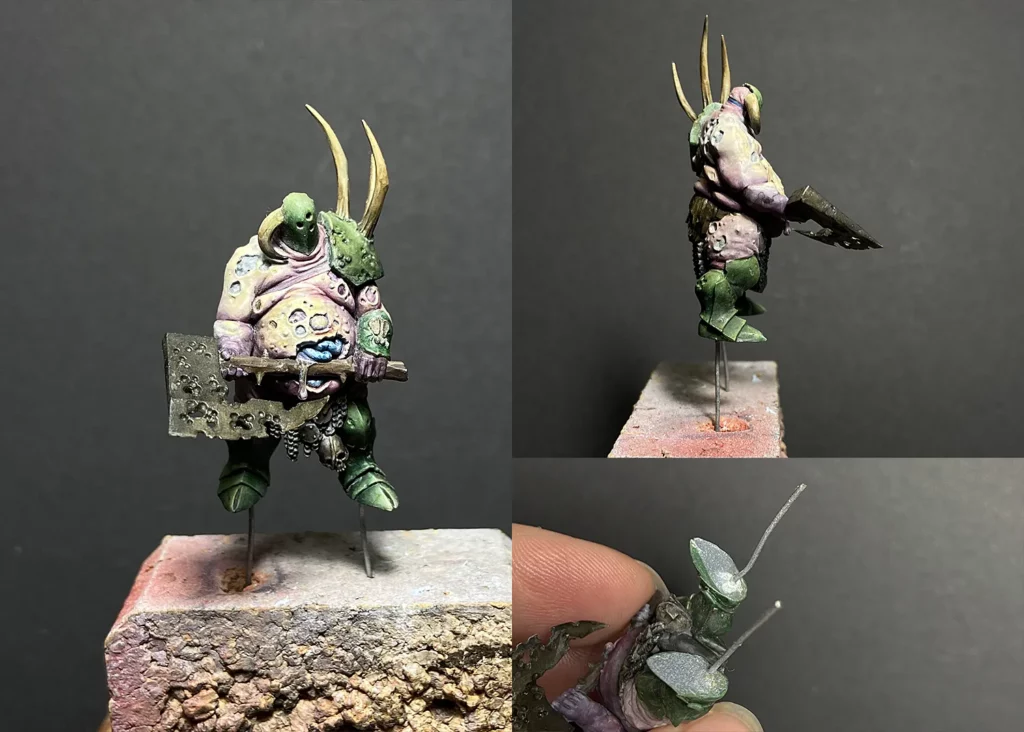
Keeping my miniatures and bases separate when painting allows me better access to all areas. I don’t have to worry about accidentally staining something with the paint. And in the case of metal figures, I don’t have to lift it all together.
Funny thing, I’m preparing to paint a 90mm Crusader Raider in white metal (the one in red from Pegaso). I have no idea how my wrists will survive this adventure.
Here are a few common mistakes people make when beginning their adventure with pinning figures. I don’t have photos to illustrate them, because I do my best not to make them.
Many hobbyists use thin or short pins, especially for larger and heavier miniatures. The wrong pin can cause the miniature to become unstable, bend, or break during transport or handling.
Always choose a pin or rod that is long and thick enough to support the weight of your miniature. Use a thicker wire or metal rod for heavier or larger miniatures. Ensure the pin extends deep into the miniature and the base for a strong bond. Especially if you’re mounting a metal figure, consider using a thicker pin and drilling deeper holes for better stability.
Another issue is pinning only one leg. The miniature isn’t stable enough with wire pinning only one leg and the other just glued to the surface. What tends to happen is that the glued leg separates from the base, and the miniature starts to rotate. Always pin both legs for added security and stability.
Check out photos of ‘the Pretty in Pink’ (a Ninja figure from Terrible Kids Stuff), earlier in the article. I was afraid to drill in her left leg because it only touched the surface at the toes. Because of that, she tends to dance on the base uncontrollably.
While super glue is the go-to for most miniature hobby problems, it’s not always the best answer. Especially with big metal miniatures, super glue tends not to be enough. In this case, it’s better to go for 2 part epoxy putty to ensure everything holds appropriately.
Another tricky moment is using a natural rock as a basing material. In my experience, super glue doesn’t stick too well to rocks. And if the contact area is small on top of that, it becomes tricky. The Internet suggests other glue types for working with stones, but I think ‘5 minutes epoxy’ should be enough.
I wish I thought about that when working on Kaptain Albrork. It would save me a lot of issues with ‘the dancing captain’. Funnily enough, I made him and Pretty in Pink one after another, and both ended up with similar mounting defects (even for different reasons).
Not considering the basing material under the feet of a miniature can lead to weak, unreliable mounting. For example, attaching a heavy miniature to a soft or brittle base, like cork or bark, without extra support is a disaster waiting to happen.
To prevent that, always consider the materials used on the base when mounting. For soft or delicate materials, drill holes deep enough to reach a solid material of plinth (wood or resin). Consider reinforcing the attachment area with putty or glue to prevent breakage when using materials like cork. Ensure the pin goes deep enough into the base to provide a strong connection.
Sometimes, it’s worth even pinning the terrain itself to the plinth. It should give better support for the figure. I usually do that with bark bases so they don’t split easily.
Drilling holes that are either too deep or too shallow can cause issues. If the hole is too shallow, the pin won’t hold the miniature securely and might fall off easily. If the hole is too deep, it might weaken the structure of the miniature or cause it to break. It’s vital to be extra careful when drilling small miniatures or when you can’t drill the foot’s heel.
You need to find a golden middle. The depth must ensure the pin is stable. But, it must not weaken the miniature or break through the top of the foot. Sometimes, you need to angle the hole to follow the leg better. A depth of around 5mm is usually sufficient for small plastic or resin miniatures. For metal and bigger miniatures, a deeper hole may be necessary. Always test the fit of the pin before applying glue to ensure a secure fit.
This one is a pet peeve of mine. People spend countless hours painting their miniatures. Yet, they leave glue visible around the figure’s feet. Or, what’s worse, on the boot. It is easy to avoid; glue it carefully and clean it up immediately if anything happens. Then, if there is any damage to the paint job, touch it up, and viola, everything looks good. Photo of the Viking before and after masking the joining area).
Quick Tips for avoiding common errors when mounting miniatures:
As you can see, mastering miniature mounting is vital. It preserves your work and keeps your miniatures stable during transport. Using the proper techniques and materials can prevent avoidable accidents. This applies whether you’re working with plastic, resin, or metal. It will protect your miniatures for years to come.
While the process may seem simple, attention to detail is key. Proper mounting ensures your miniatures stay intact and ready for display or gaming. Take your time. Use the right tools. Enjoy the peace of mind that your miniatures are secure.
Quick tips to remember:
Stay tuned for Part 2 of the article. We will explore advanced techniques and tips for handling complex bases there.